When you create your first Tally form, you’ll notice that each form consists of building blocks. When you start typing, you automatically create a text block, but there are many more blocks to discover!
Type
/ to see the different types of form blocks you can add to your form. You can find an overview of all keyboard shortcuts here.Create a new formJust start typingSelect, move, and duplicate blocksFold blocksCreate columnsMake questions required or optionalChoose block optionsCreate a multiple-page formAdd a Thank You pagePreview and publishKeep your progress with auto-saveDiscard unpublished changesUse the command menu to searchRestore deleted forms, workspaces, and submissions
Create a new form
In your Tally dashboard, you’ll find a
+ New form button on the top right. Click it to start building your first form.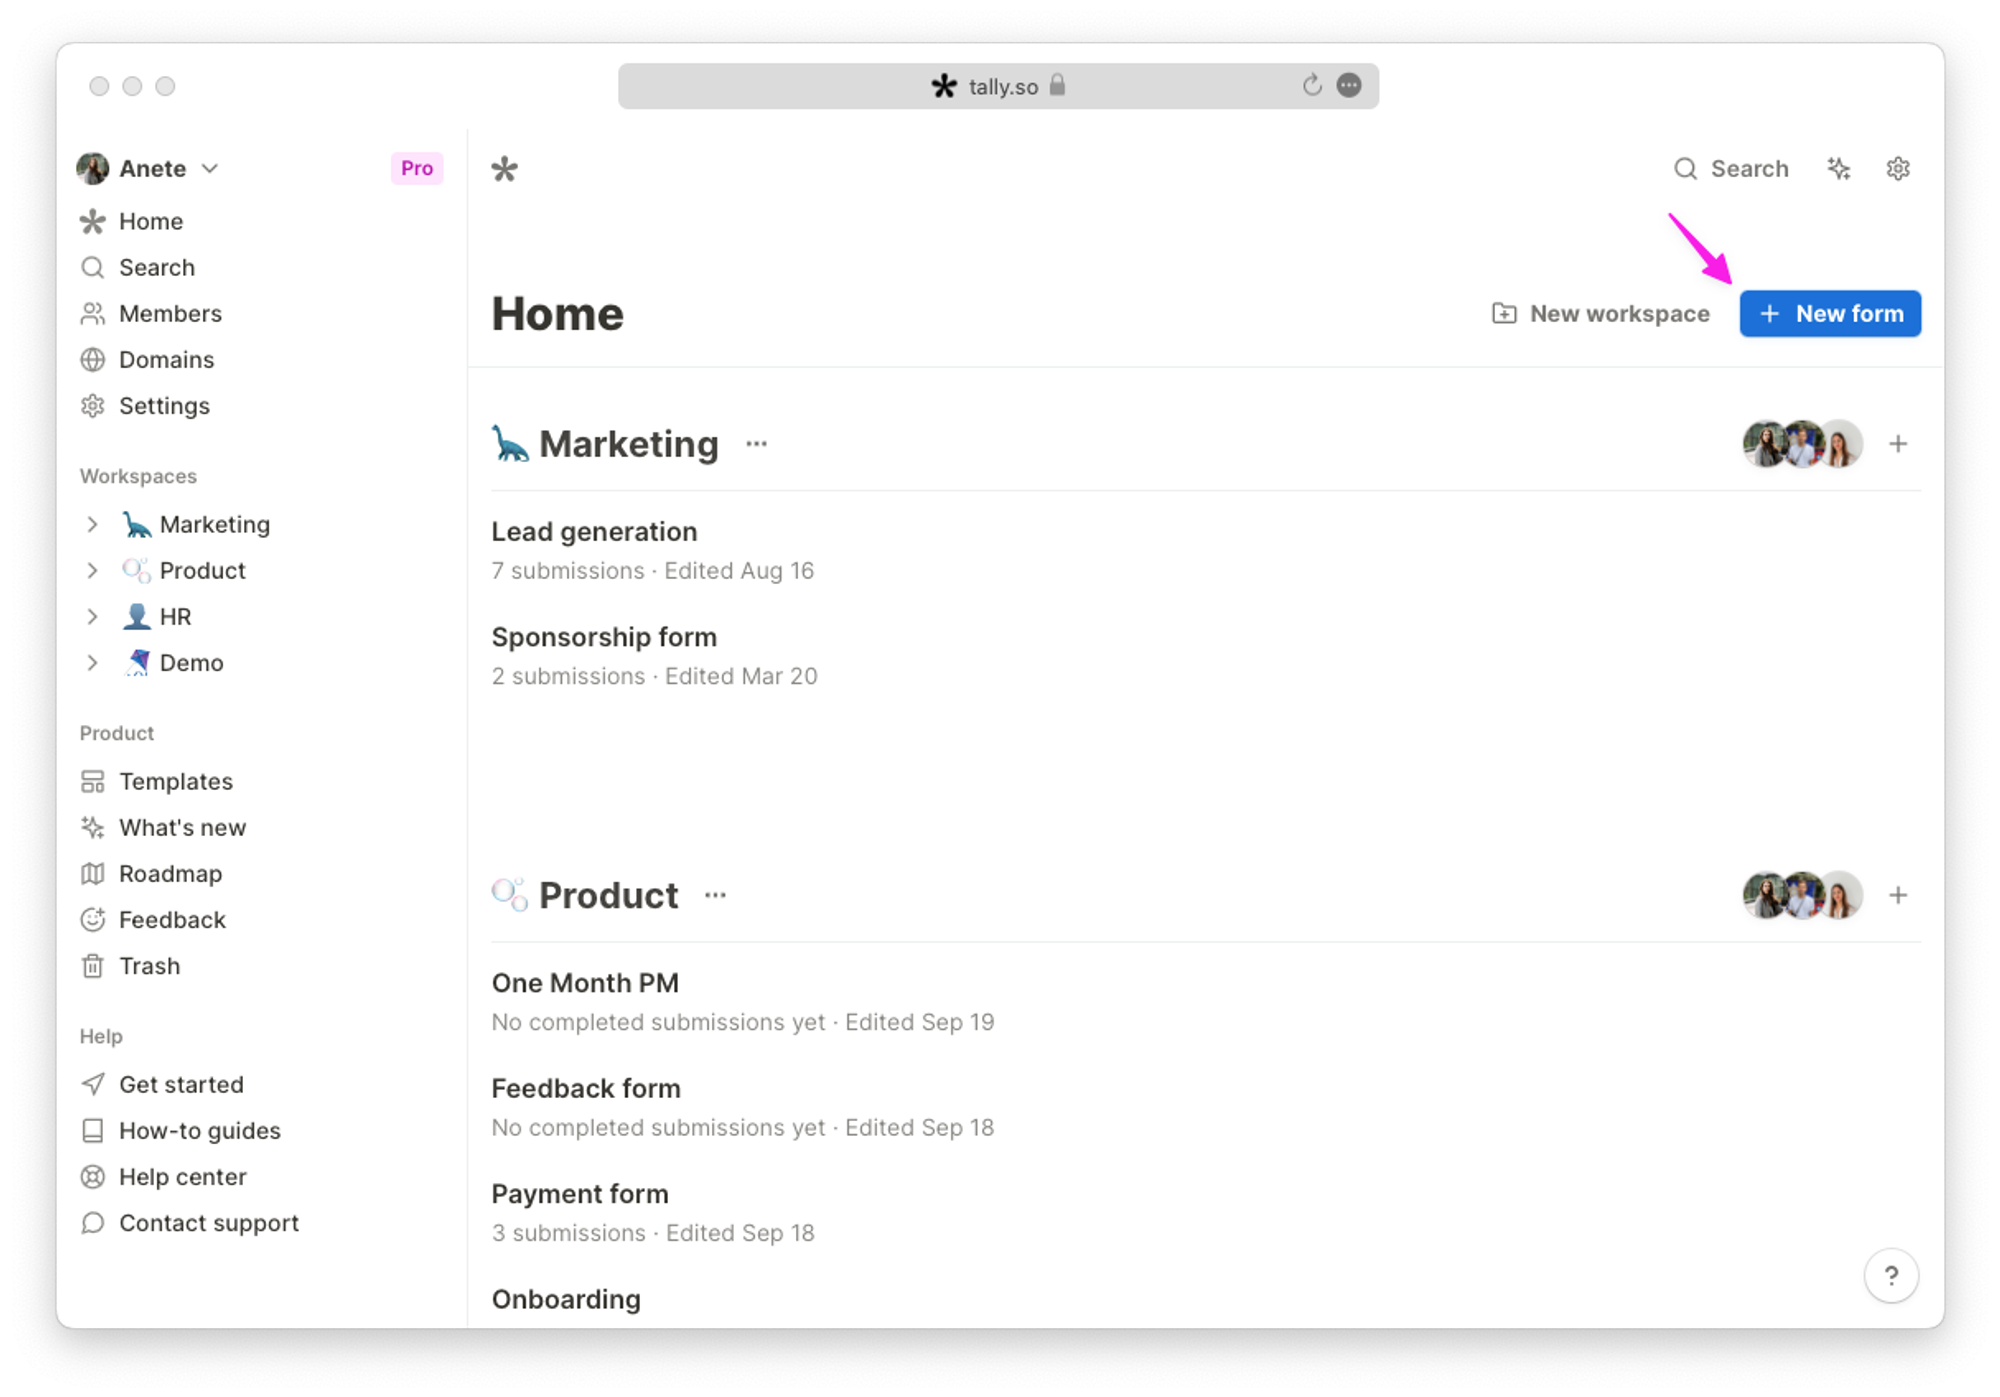
Just start typing
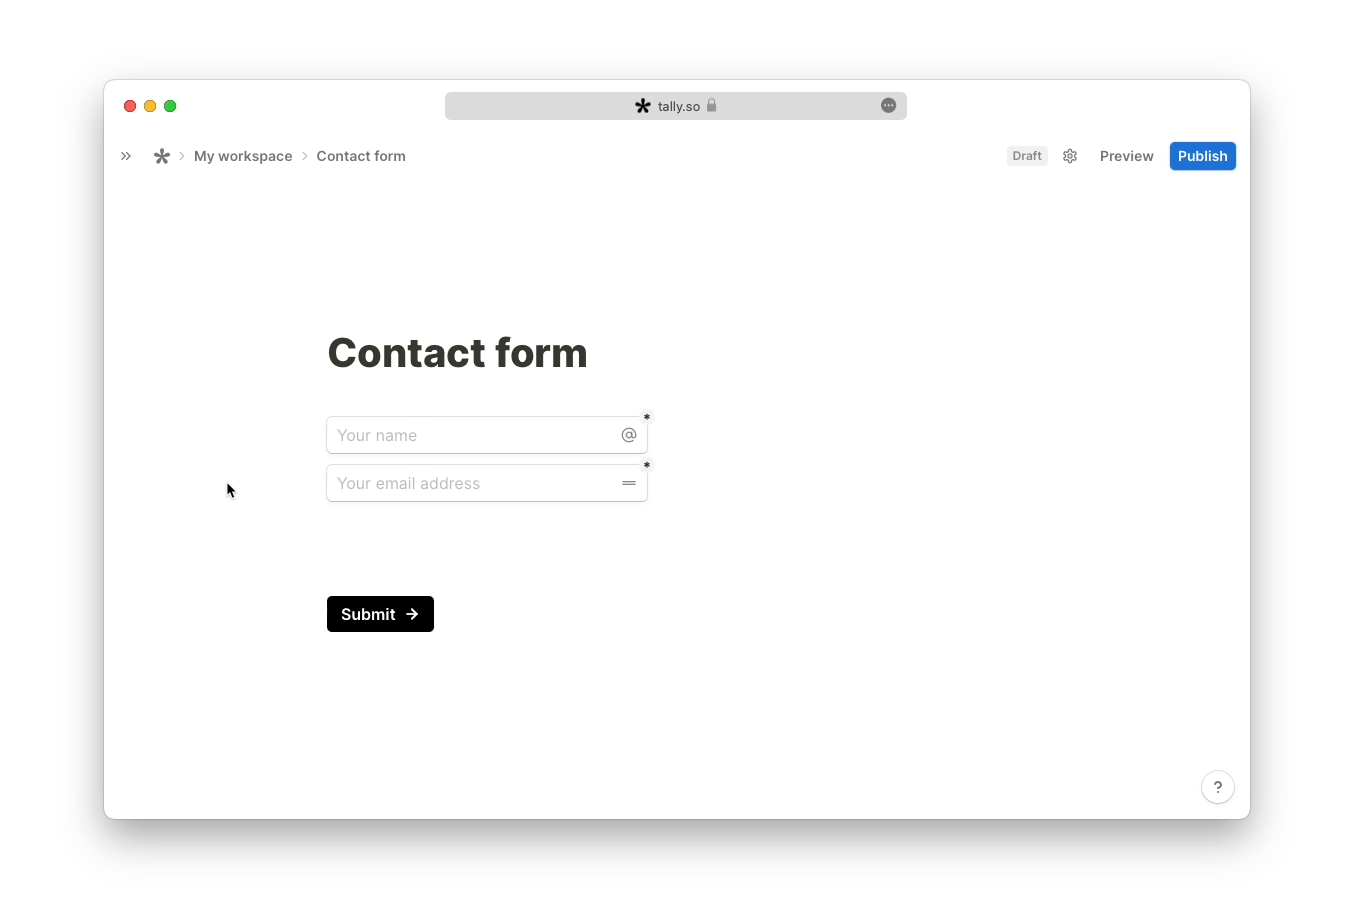
Give your form a title and hit
enter. You can choose a form template from our gallery, but let’s start from scratch to keep it simple.To create a form or a survey, you need to insert questions and answers. You can choose from a list of pre-made questions + input blocks. Just click
+ or type /question to see the available options, or use our keyboard shortcuts.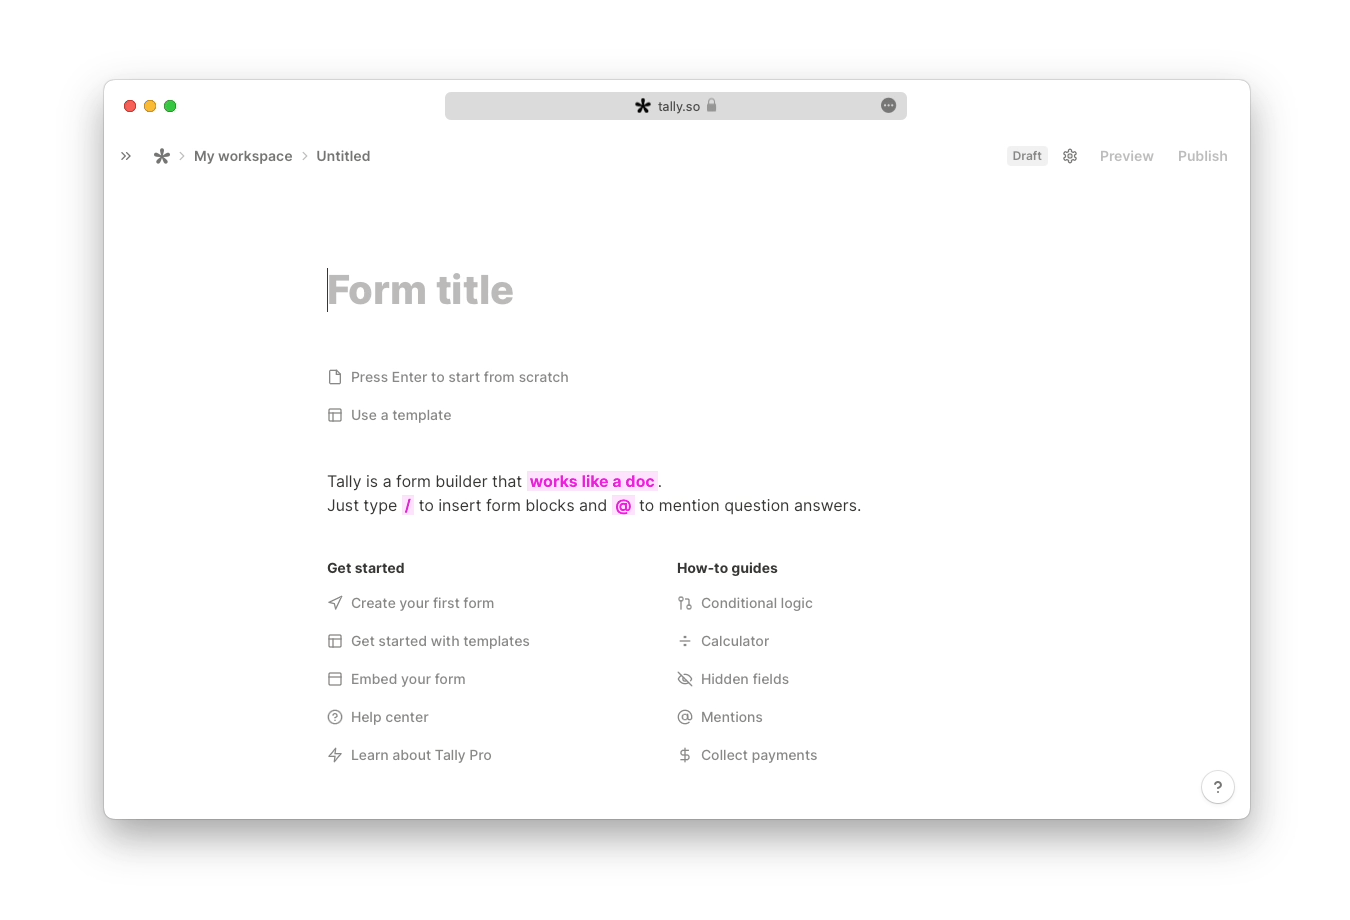
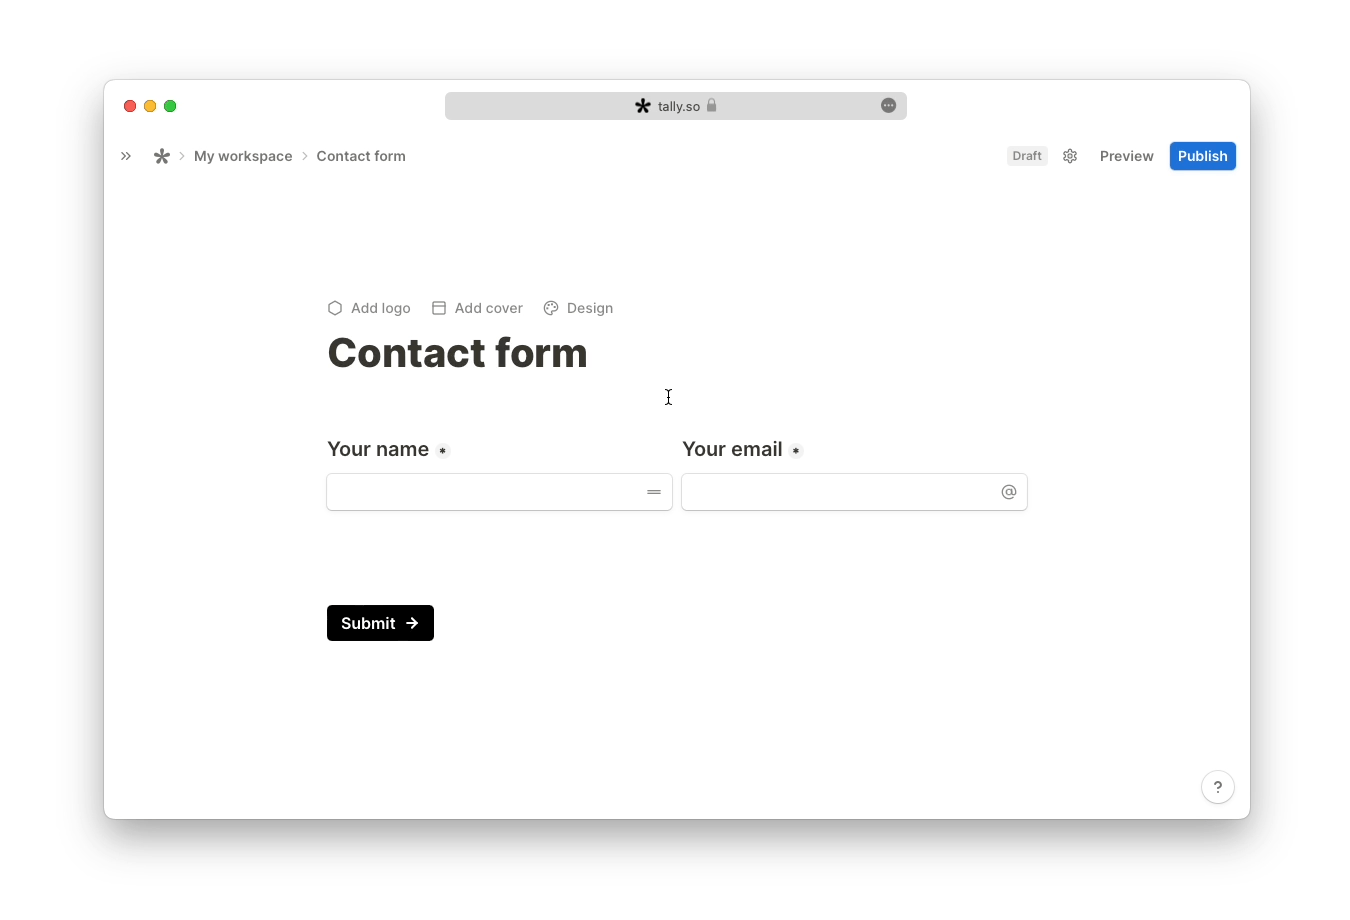
Alternatively, you can add questions by typing
/title or /label, and then choosing one of the answer fields from the list of input blocks—just type /email, for example.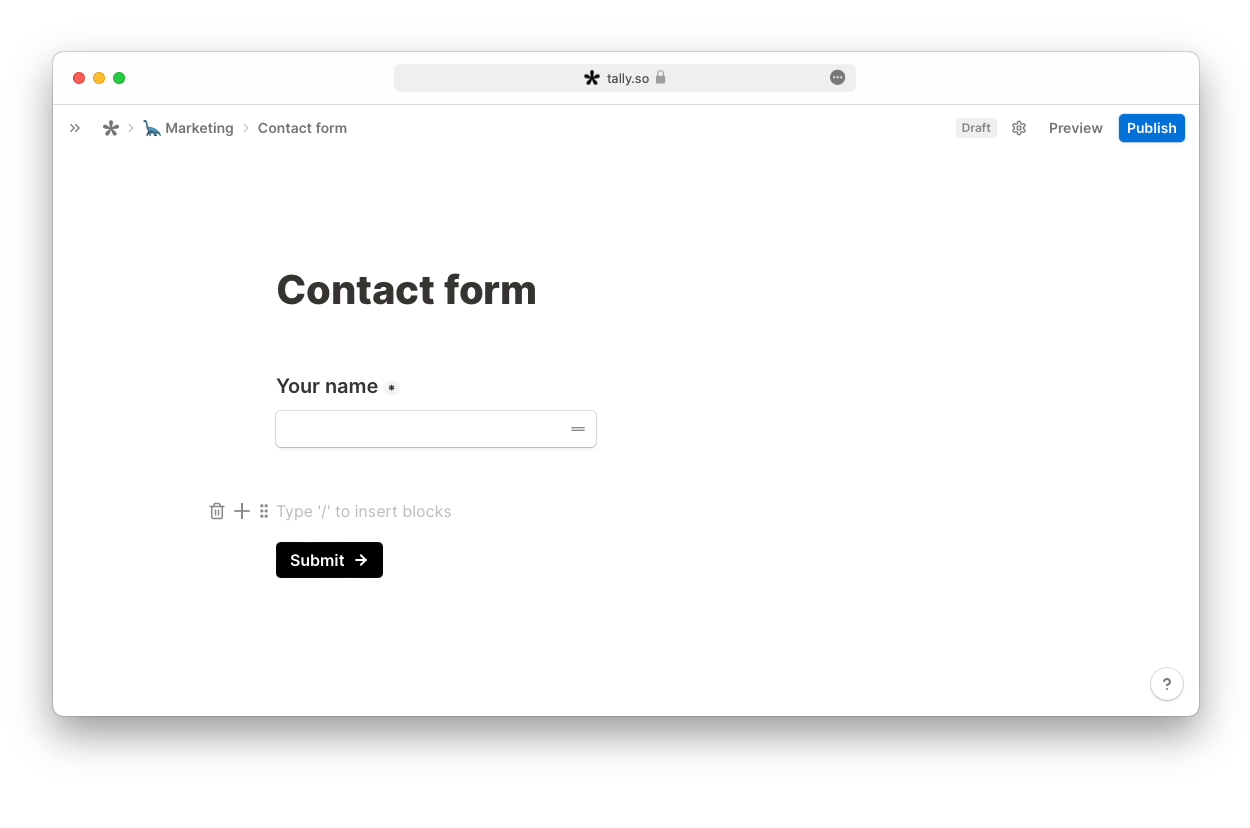
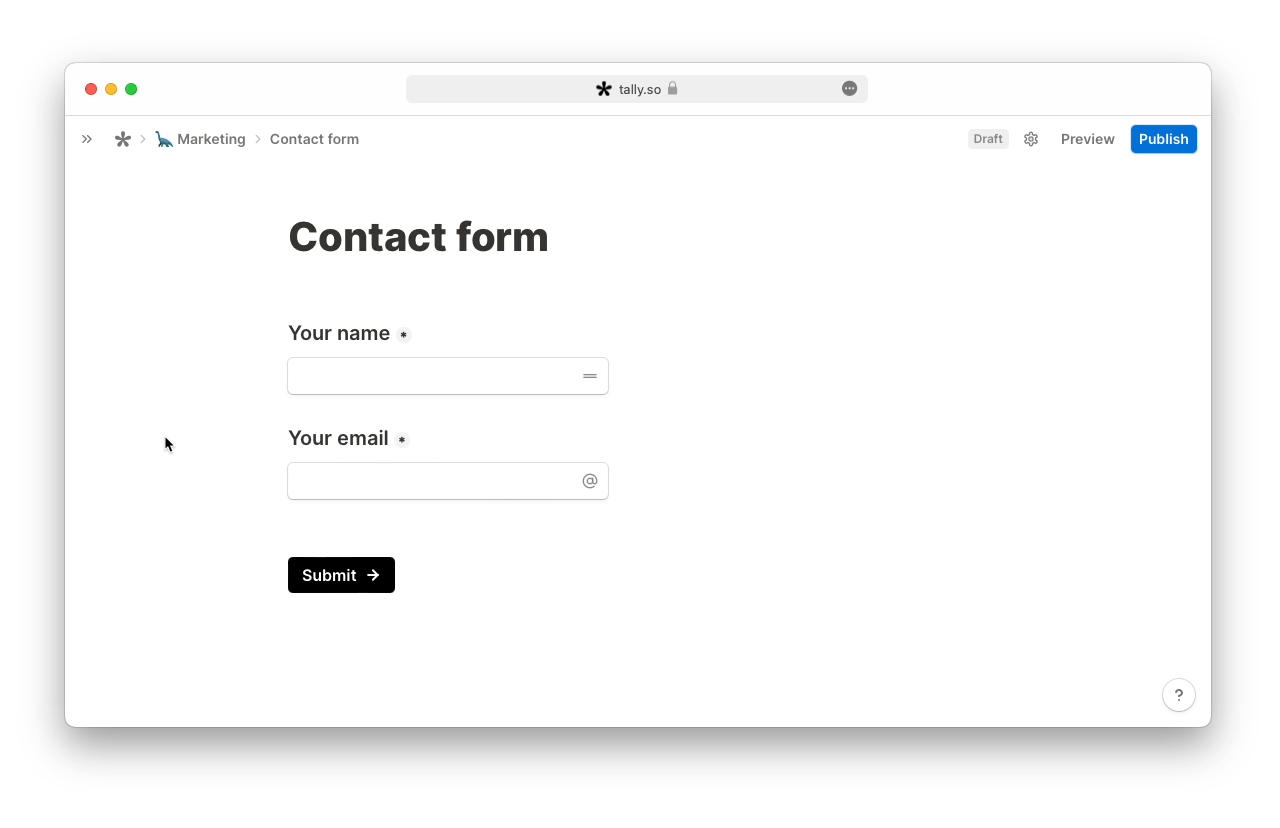
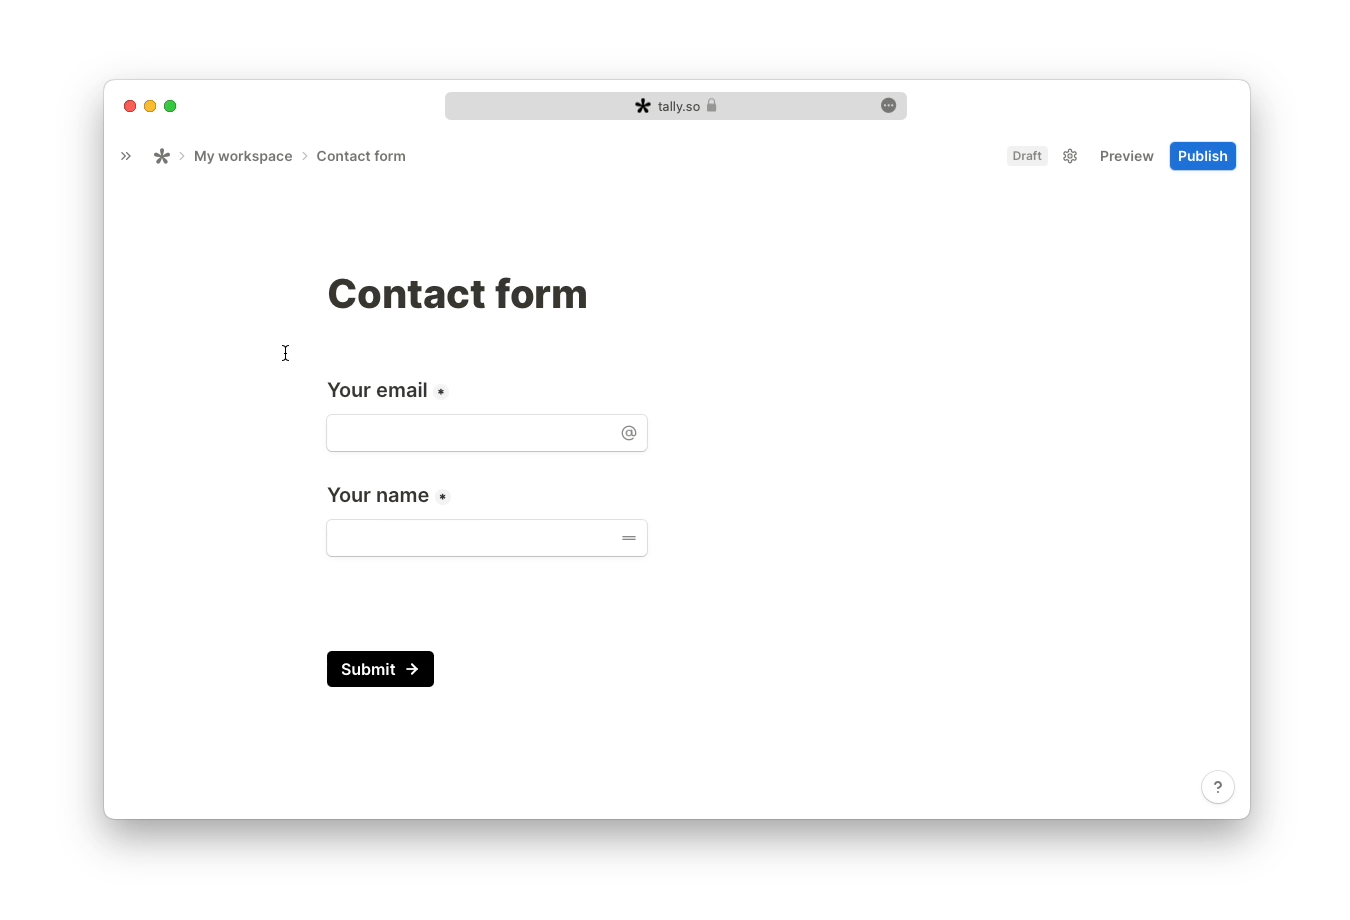
Select, move, and duplicate blocks
Use the question title or label to drag the entire question group to another position. This will move all blocks between the title and the last block of an input group.
You can also select individual input blocks to move or duplicate them.
Alternatively, select one or multiple form blocks and press
cmd/ctrl + shift + ↓↑ to move them up or down.To delete blocks:
- Hover over a question title or label and click the
🗑icon to delete the entire question group
- Or highlight several blocks and hit
backspace
To duplicate them:
- Click on a block you want to duplicate and press
cmd/ctrl+D
- You can also click the dotted icon next to a single or several highlighted blocks and select
deleteorduplicate.
Fold blocks
If you have any question blocks that may have multiple answer choices or option lists, you can fold them in your form builder to save space. For example, you may have a long dropdown list of countries that takes up room in your editor.
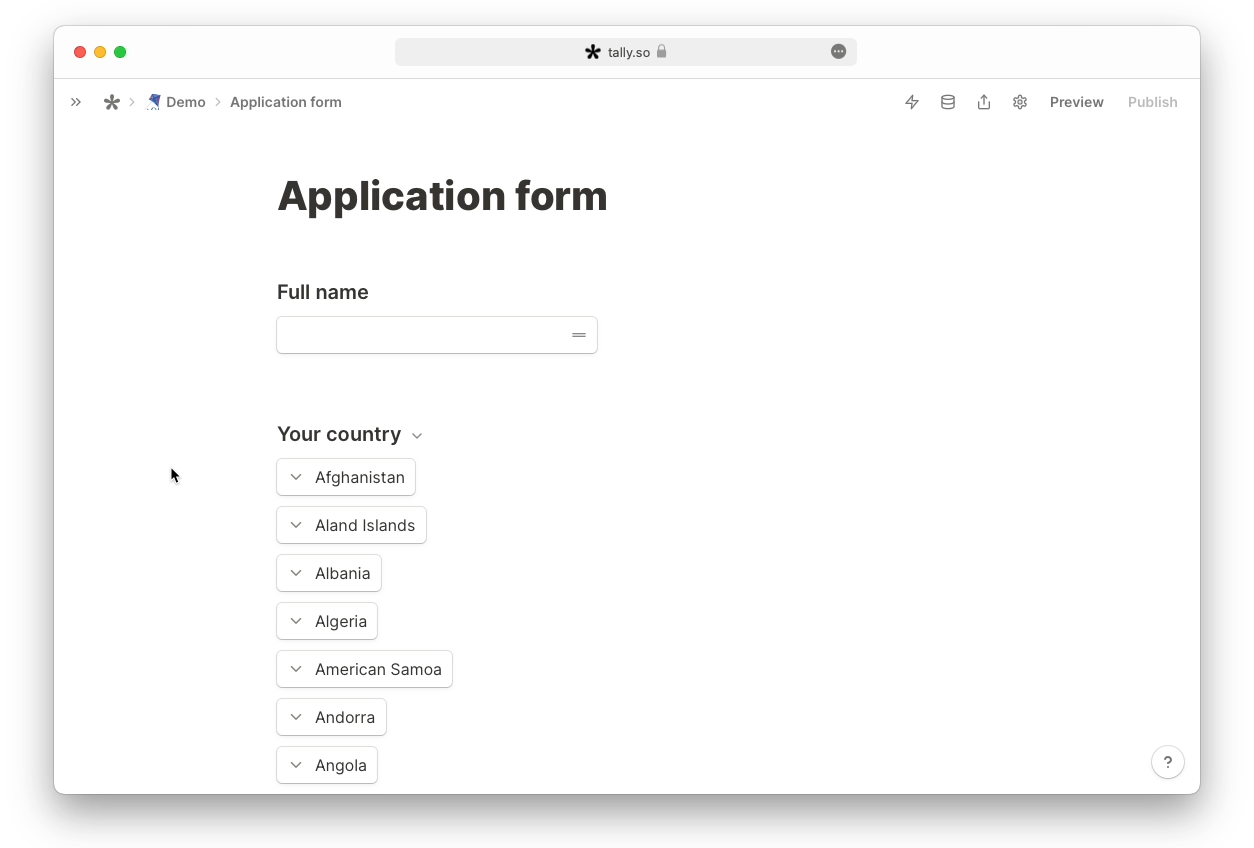
You can fold the following question blocks by clicking
v next to their title or label:- Checkboxes
To fold or unfold blocks, highlight them and use the following shortcuts:
- Windows:
ctrl+shift+[to fold andctrl+shift+]to unfold
- Mac:
cmd+option+[to fold andcmd+option+]to unfold
When folded, you’ll see how many blocks are included in the fold. You can click the
> button to unfold them.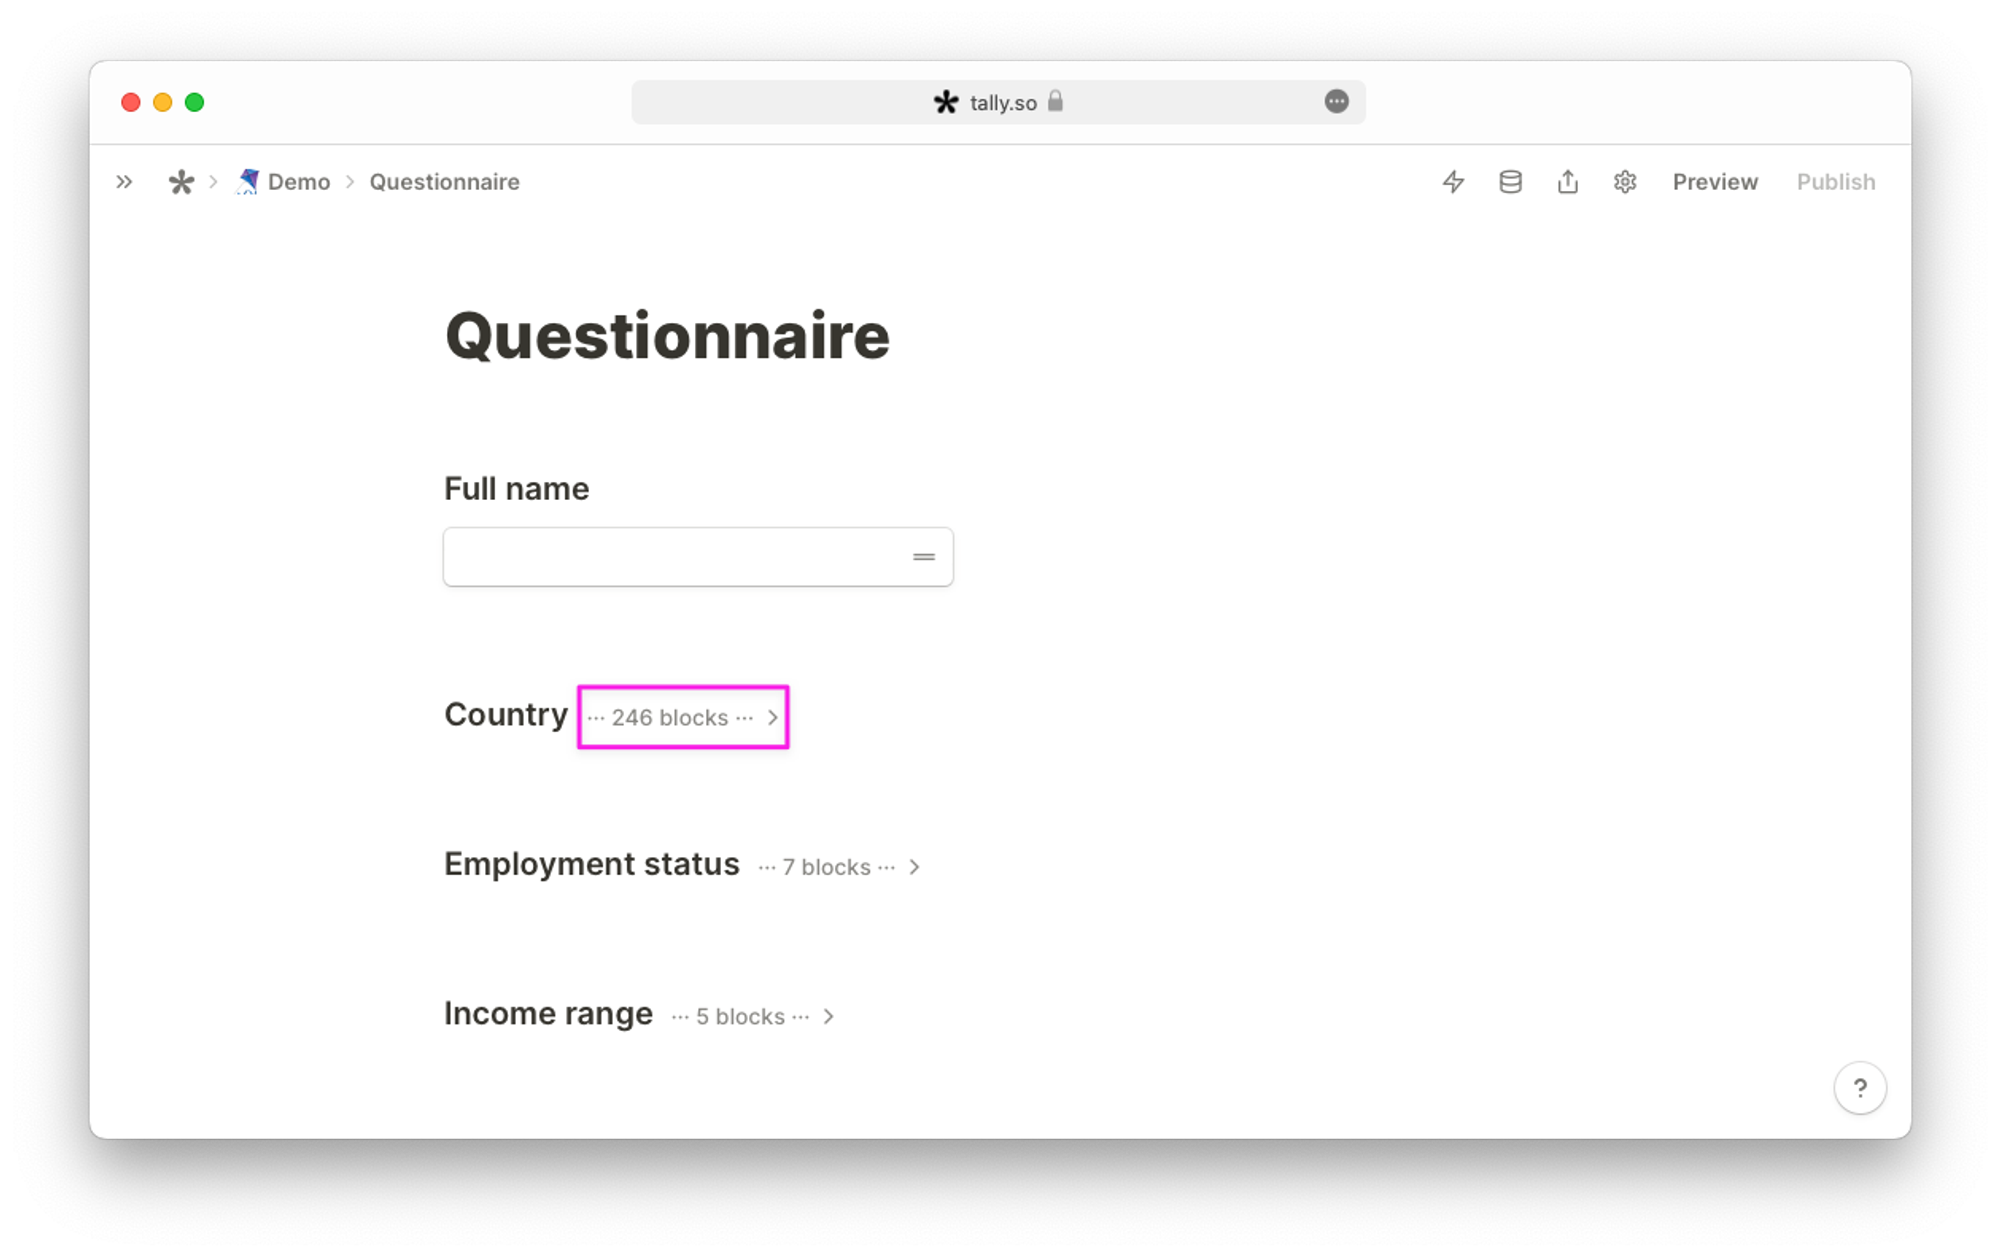
Create columns
To create columns, drag a block or a question group to the left or right of another block. To move several blocks or question groups simultaneously, highlight them first and then drag them.
You can also change the width of each block in the column by clicking on the vertical divider and dragging it to either side.
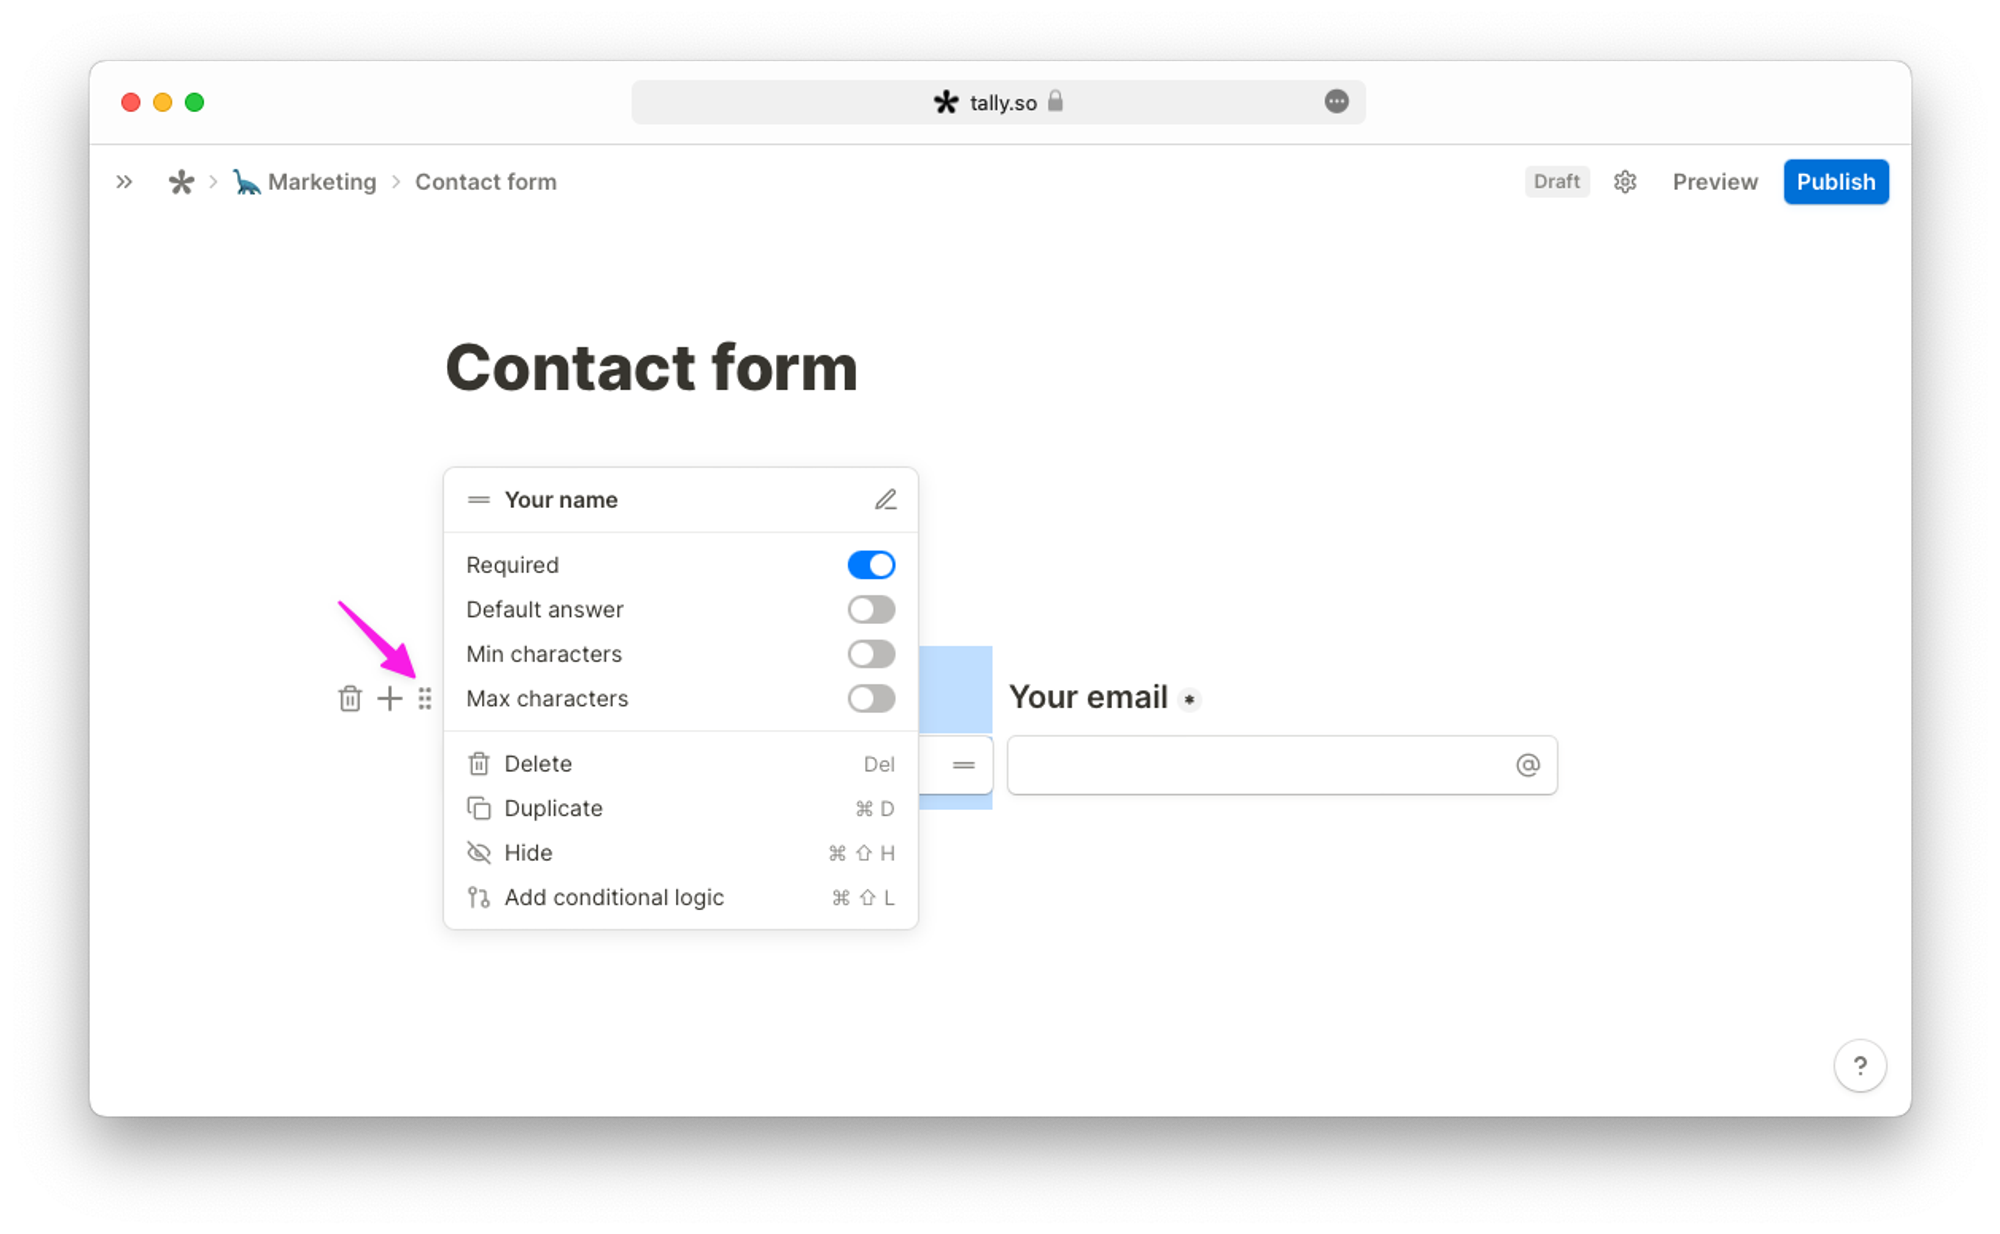
Make questions required or optional
Questions are required by default and marked with a
*. Click * to make the question optional or not required. You can also click the
⋮⋮ icon left of the question block and toggle the Required option.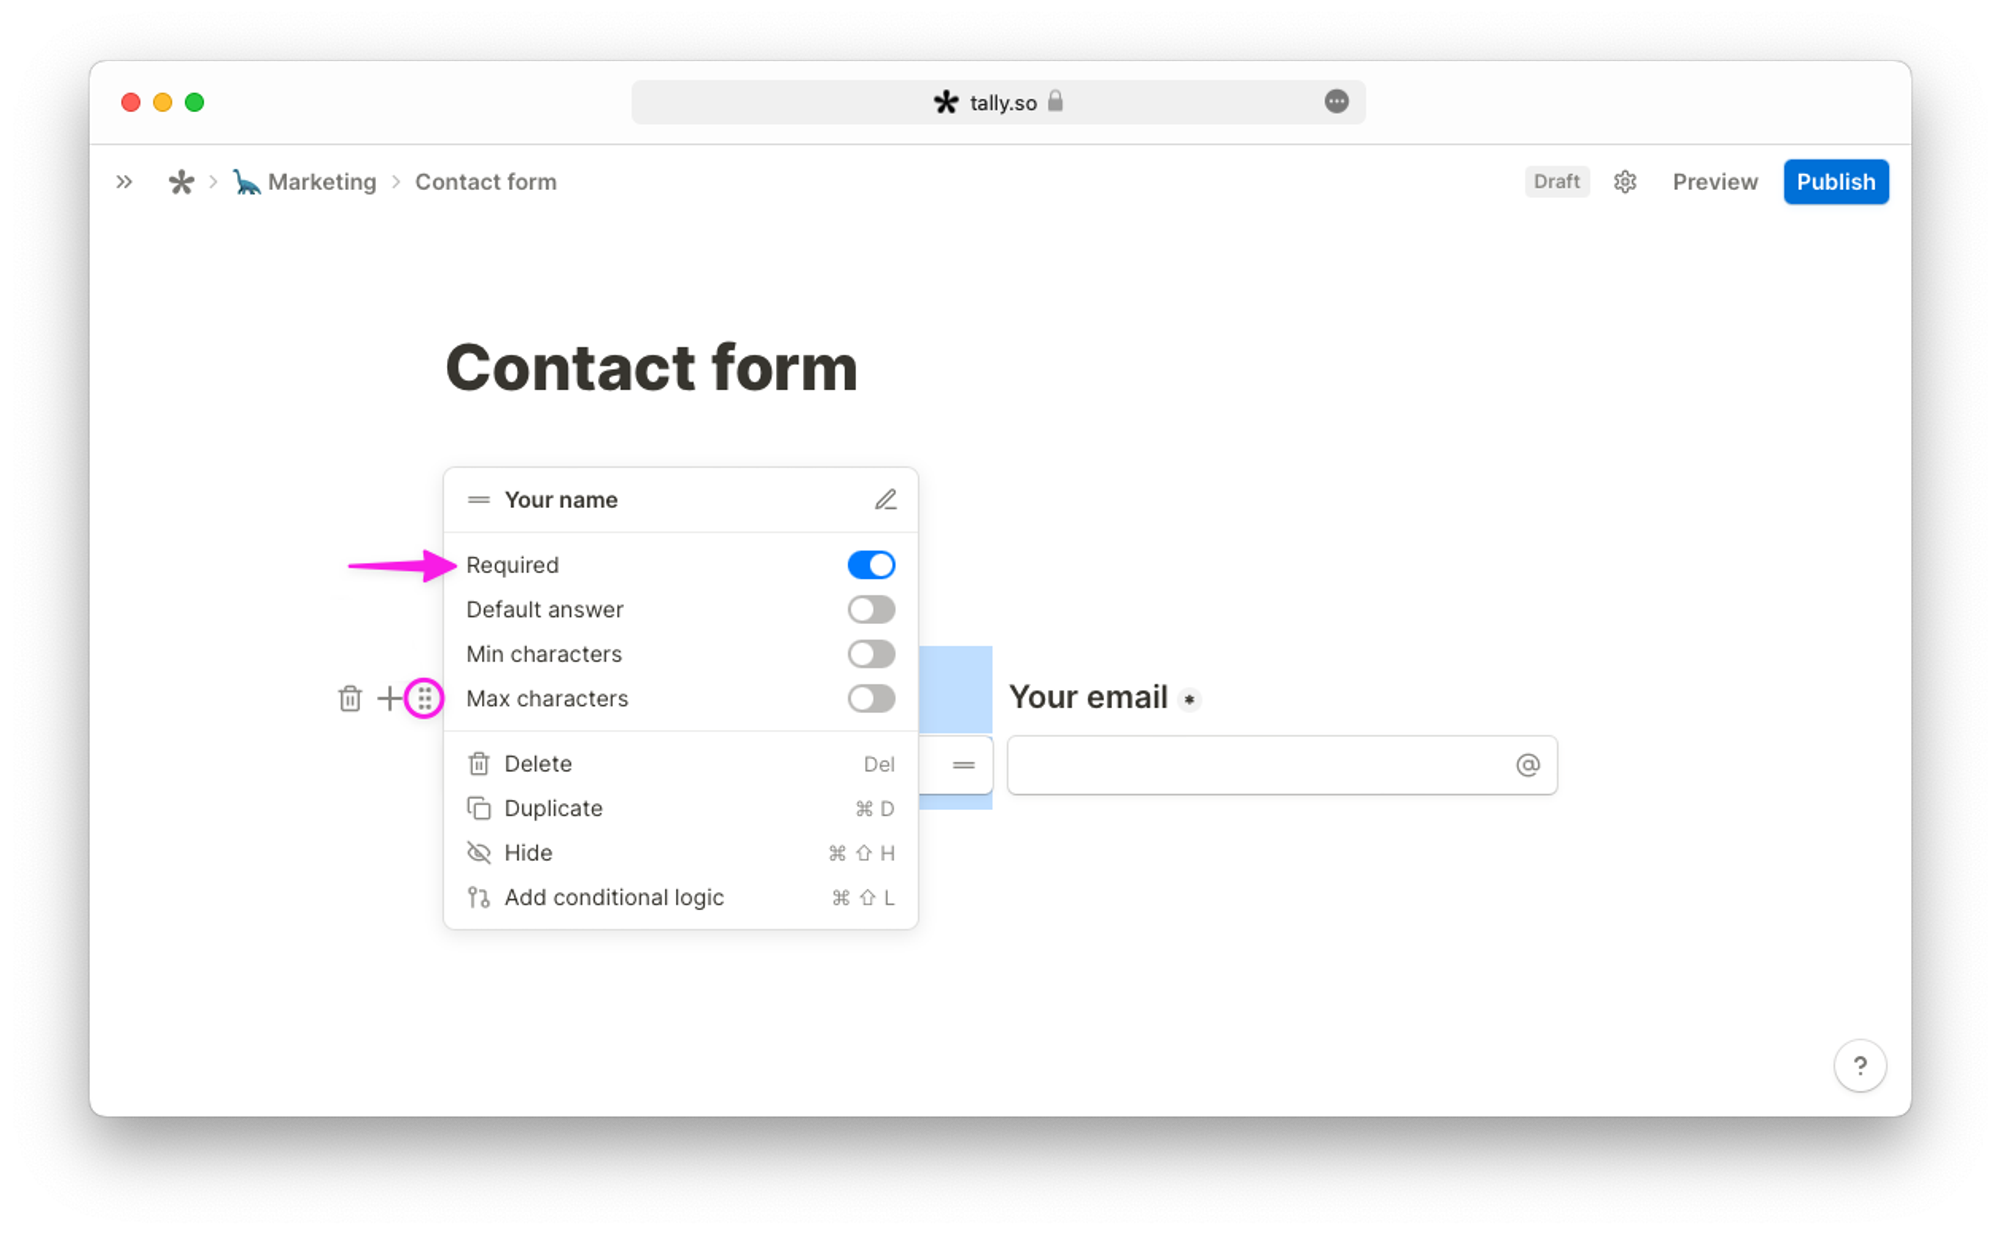
Press
cmd/ctrl + shift + R to toggle between required and optional questions.Choose block options
Click
:: on the left of an input block to open block options. Depending on the input block, there are different options available:- Edit question field name
- Hide the block
- Make the block required
- Add a default answer
- Duplicate or delete the block
- Set a character limit — minimum or maximum number of characters or choices
- Add images to multiple-choice questions
- Add conditional logic
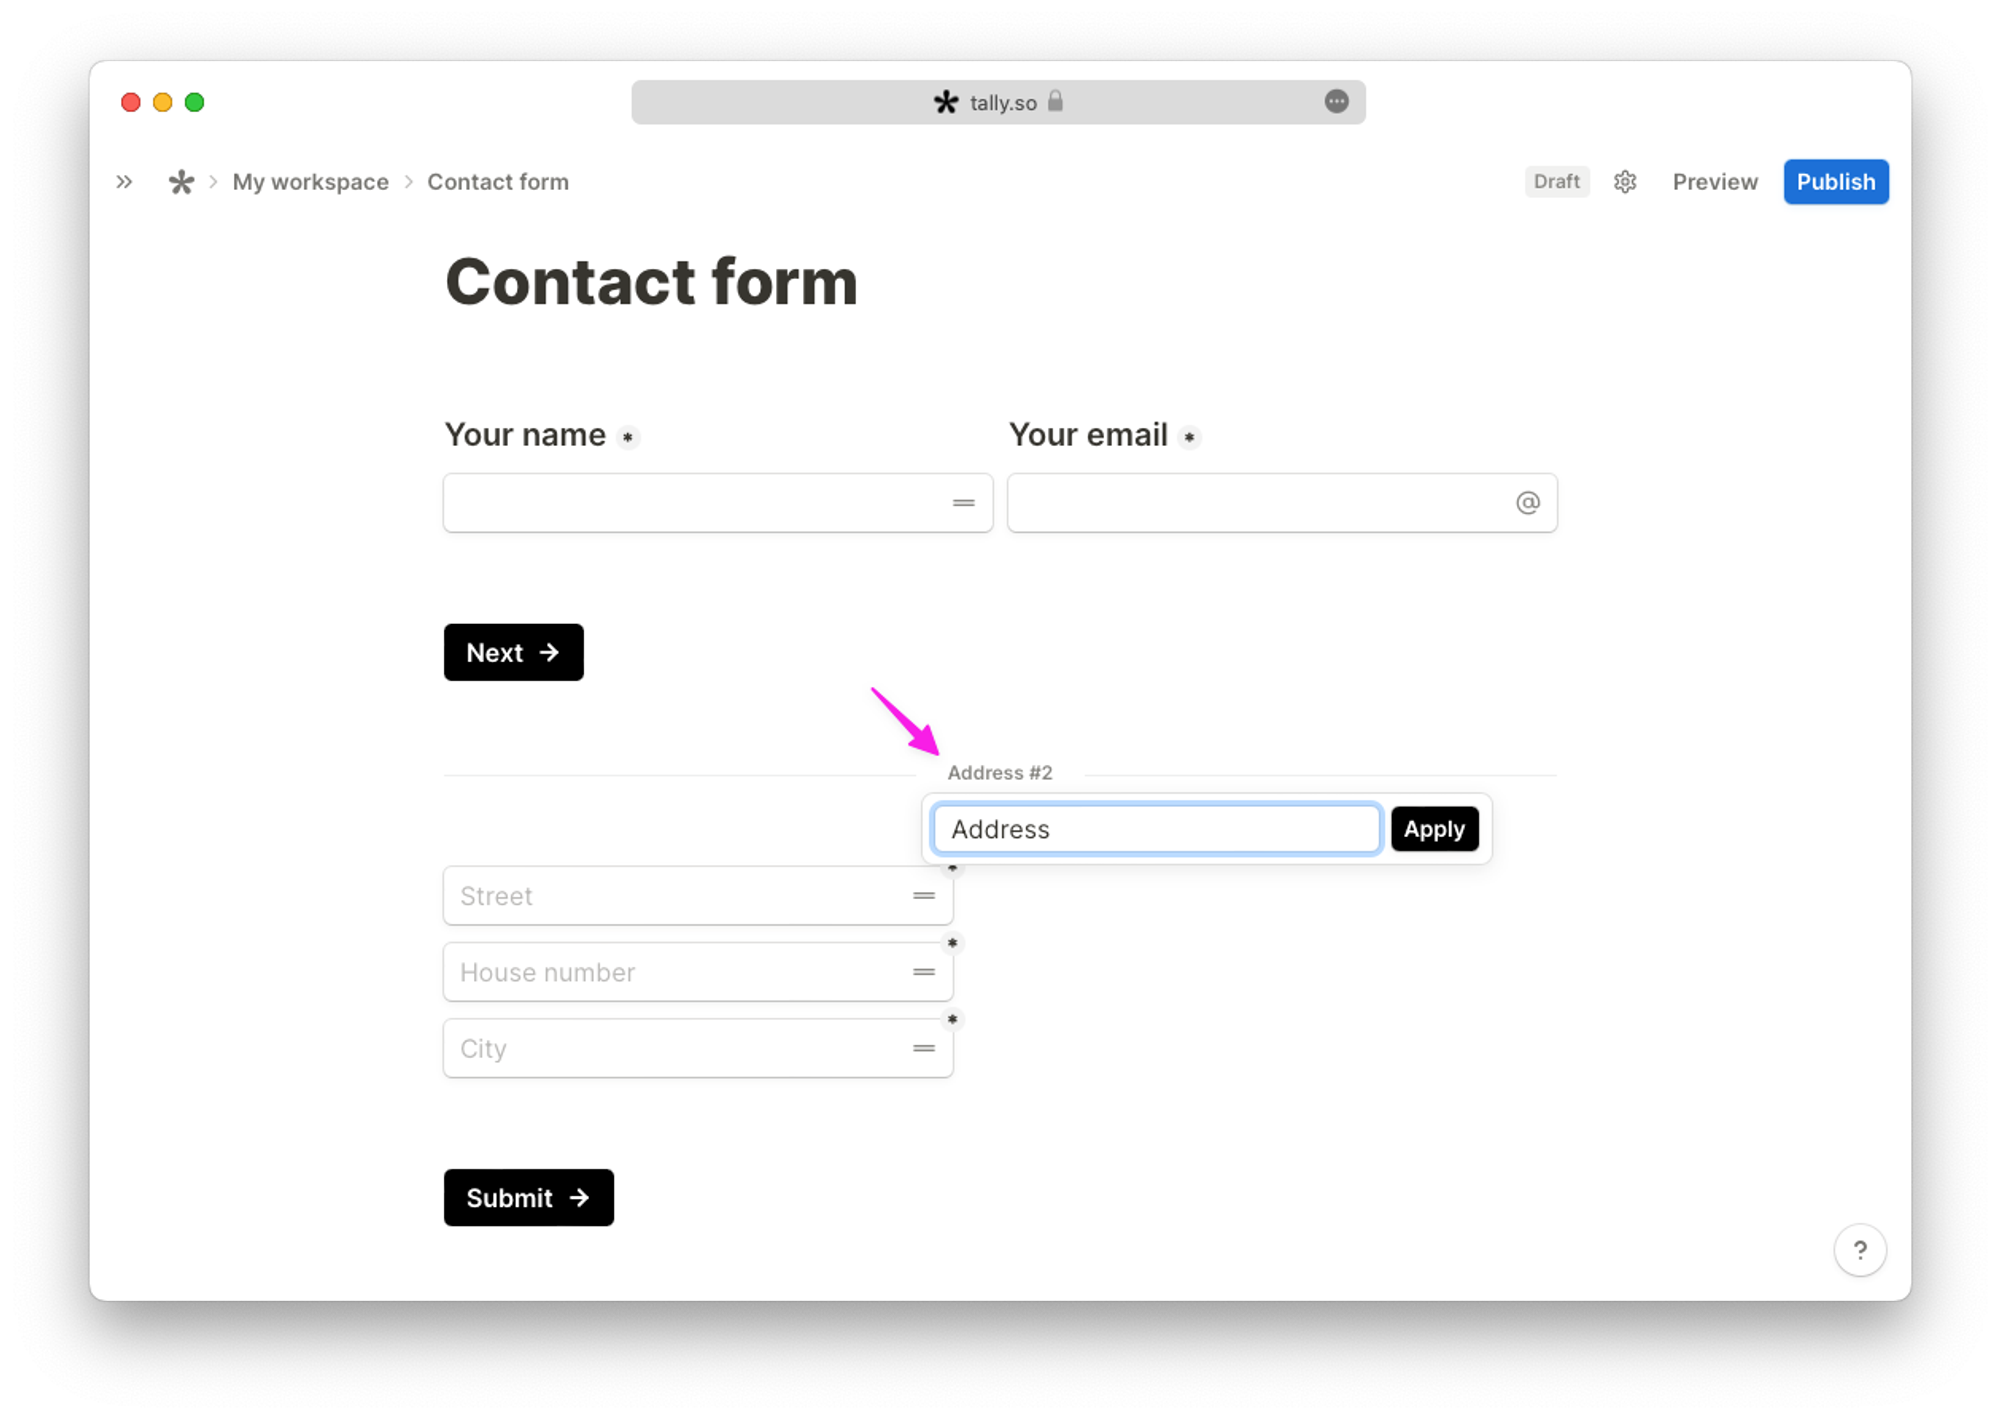
Create a multiple-page form
To create a multiple-page form, insert pages by typing
/page. You can select and drag the page divider anywhere on your form, separating blocks. To rename the page, click on the default page title and add a new name. Each renamed page title will have an automatically added number at the end to show the page sequence.
Add a Thank You page
A Thank You page is the message your respondents see after they submit a form. Use the toggle next to the last page title to create a custom Thank You page or type
/thank.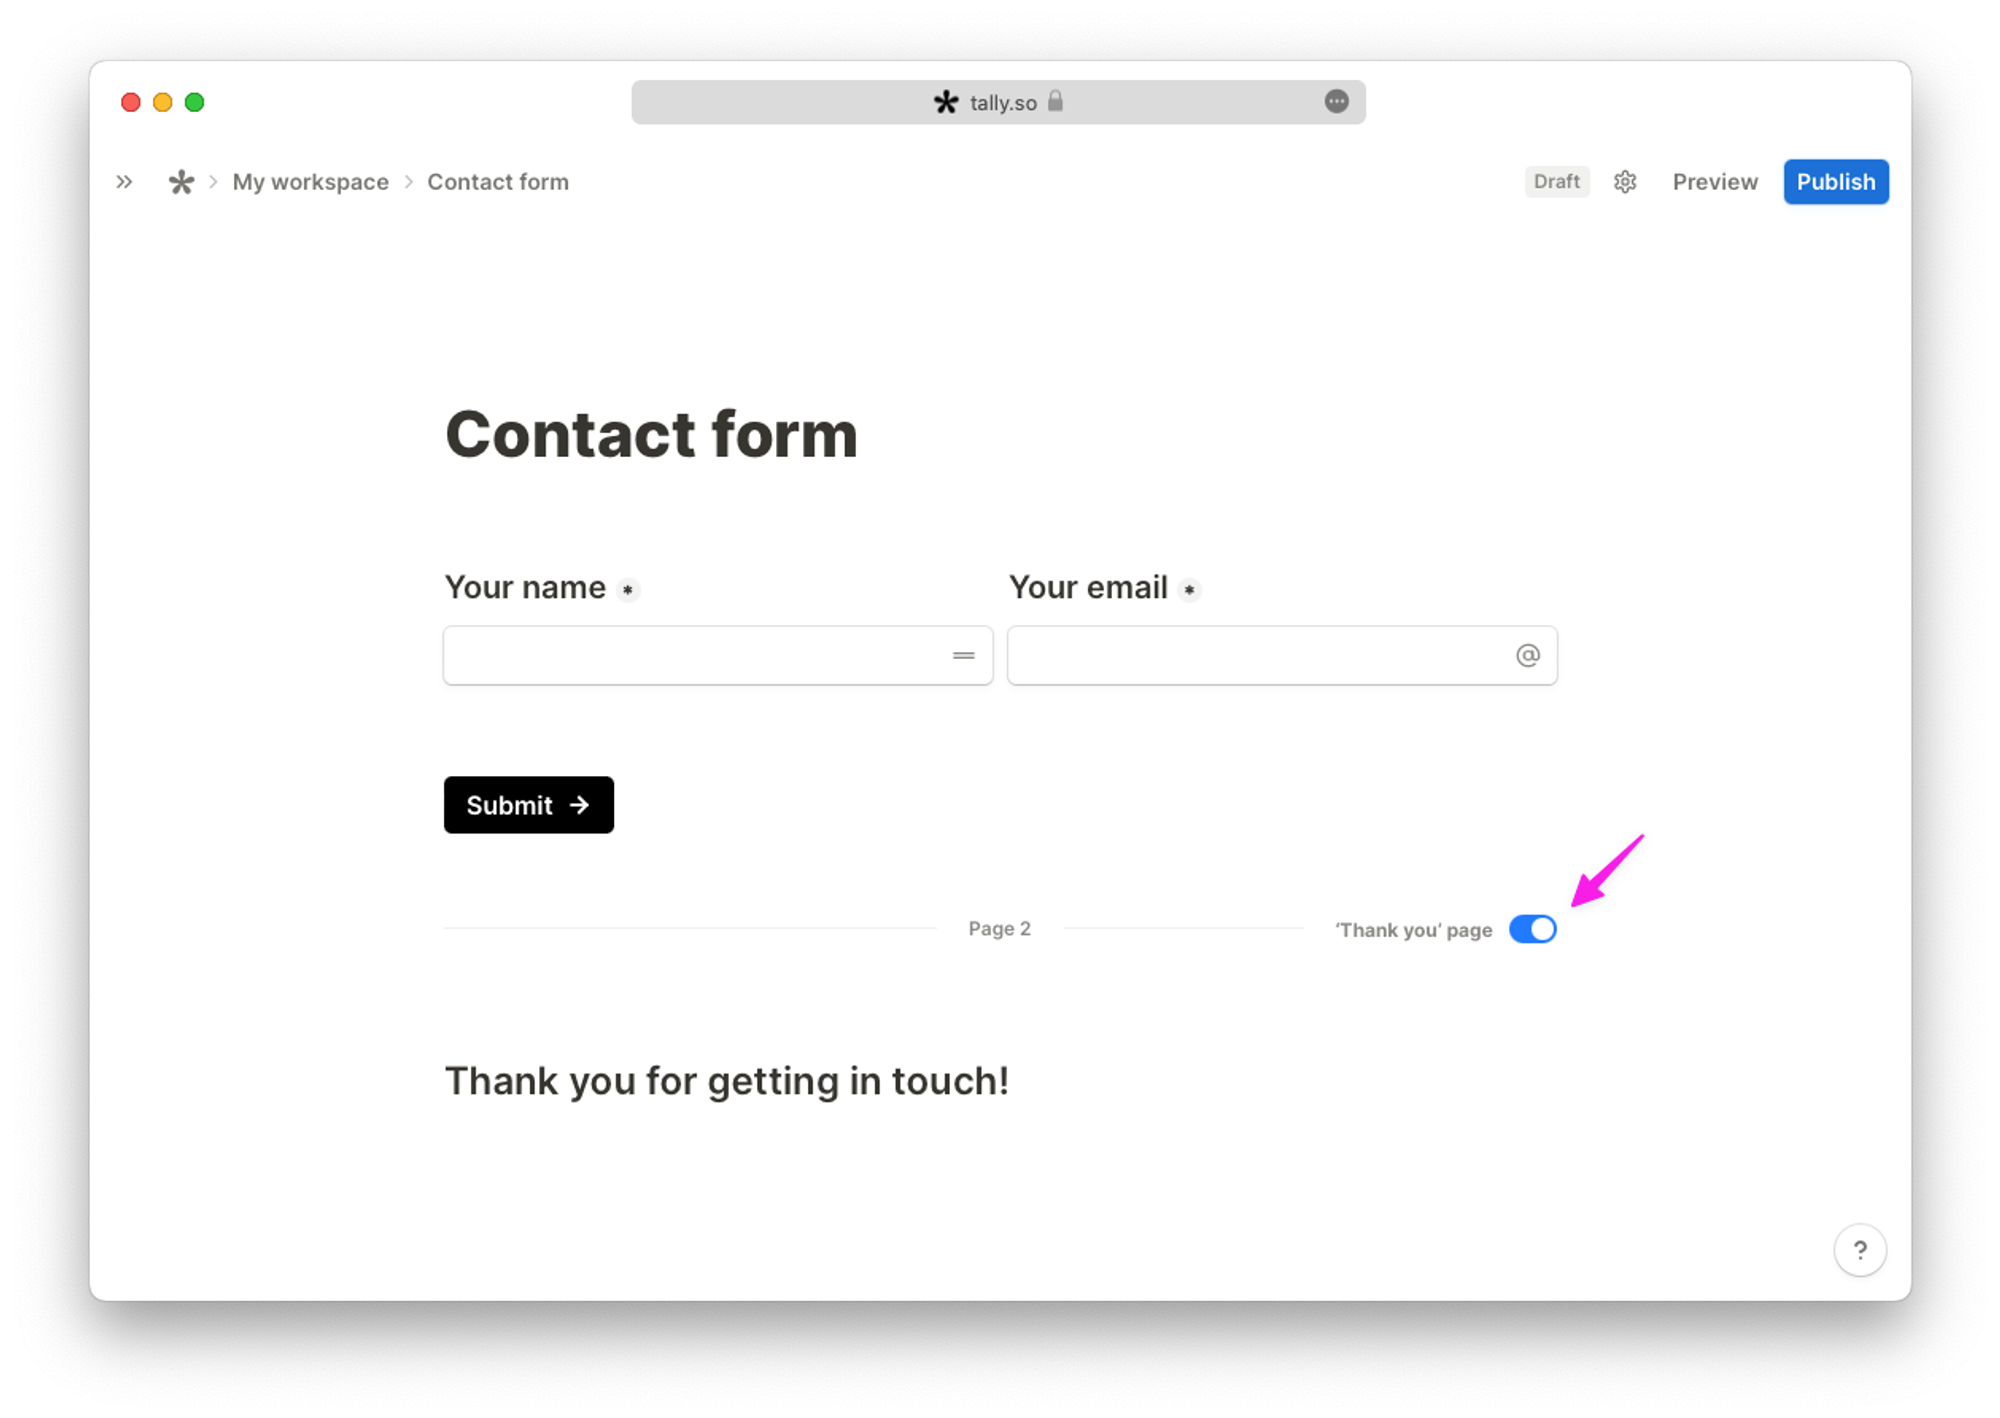
If you don't add a Thank You page, a default one will be shown at the end of your form.
Preview and publish
Click
Preview on the top right of the editor to test your form. When you’re ready to share your form, press Publish to get the sharing link. 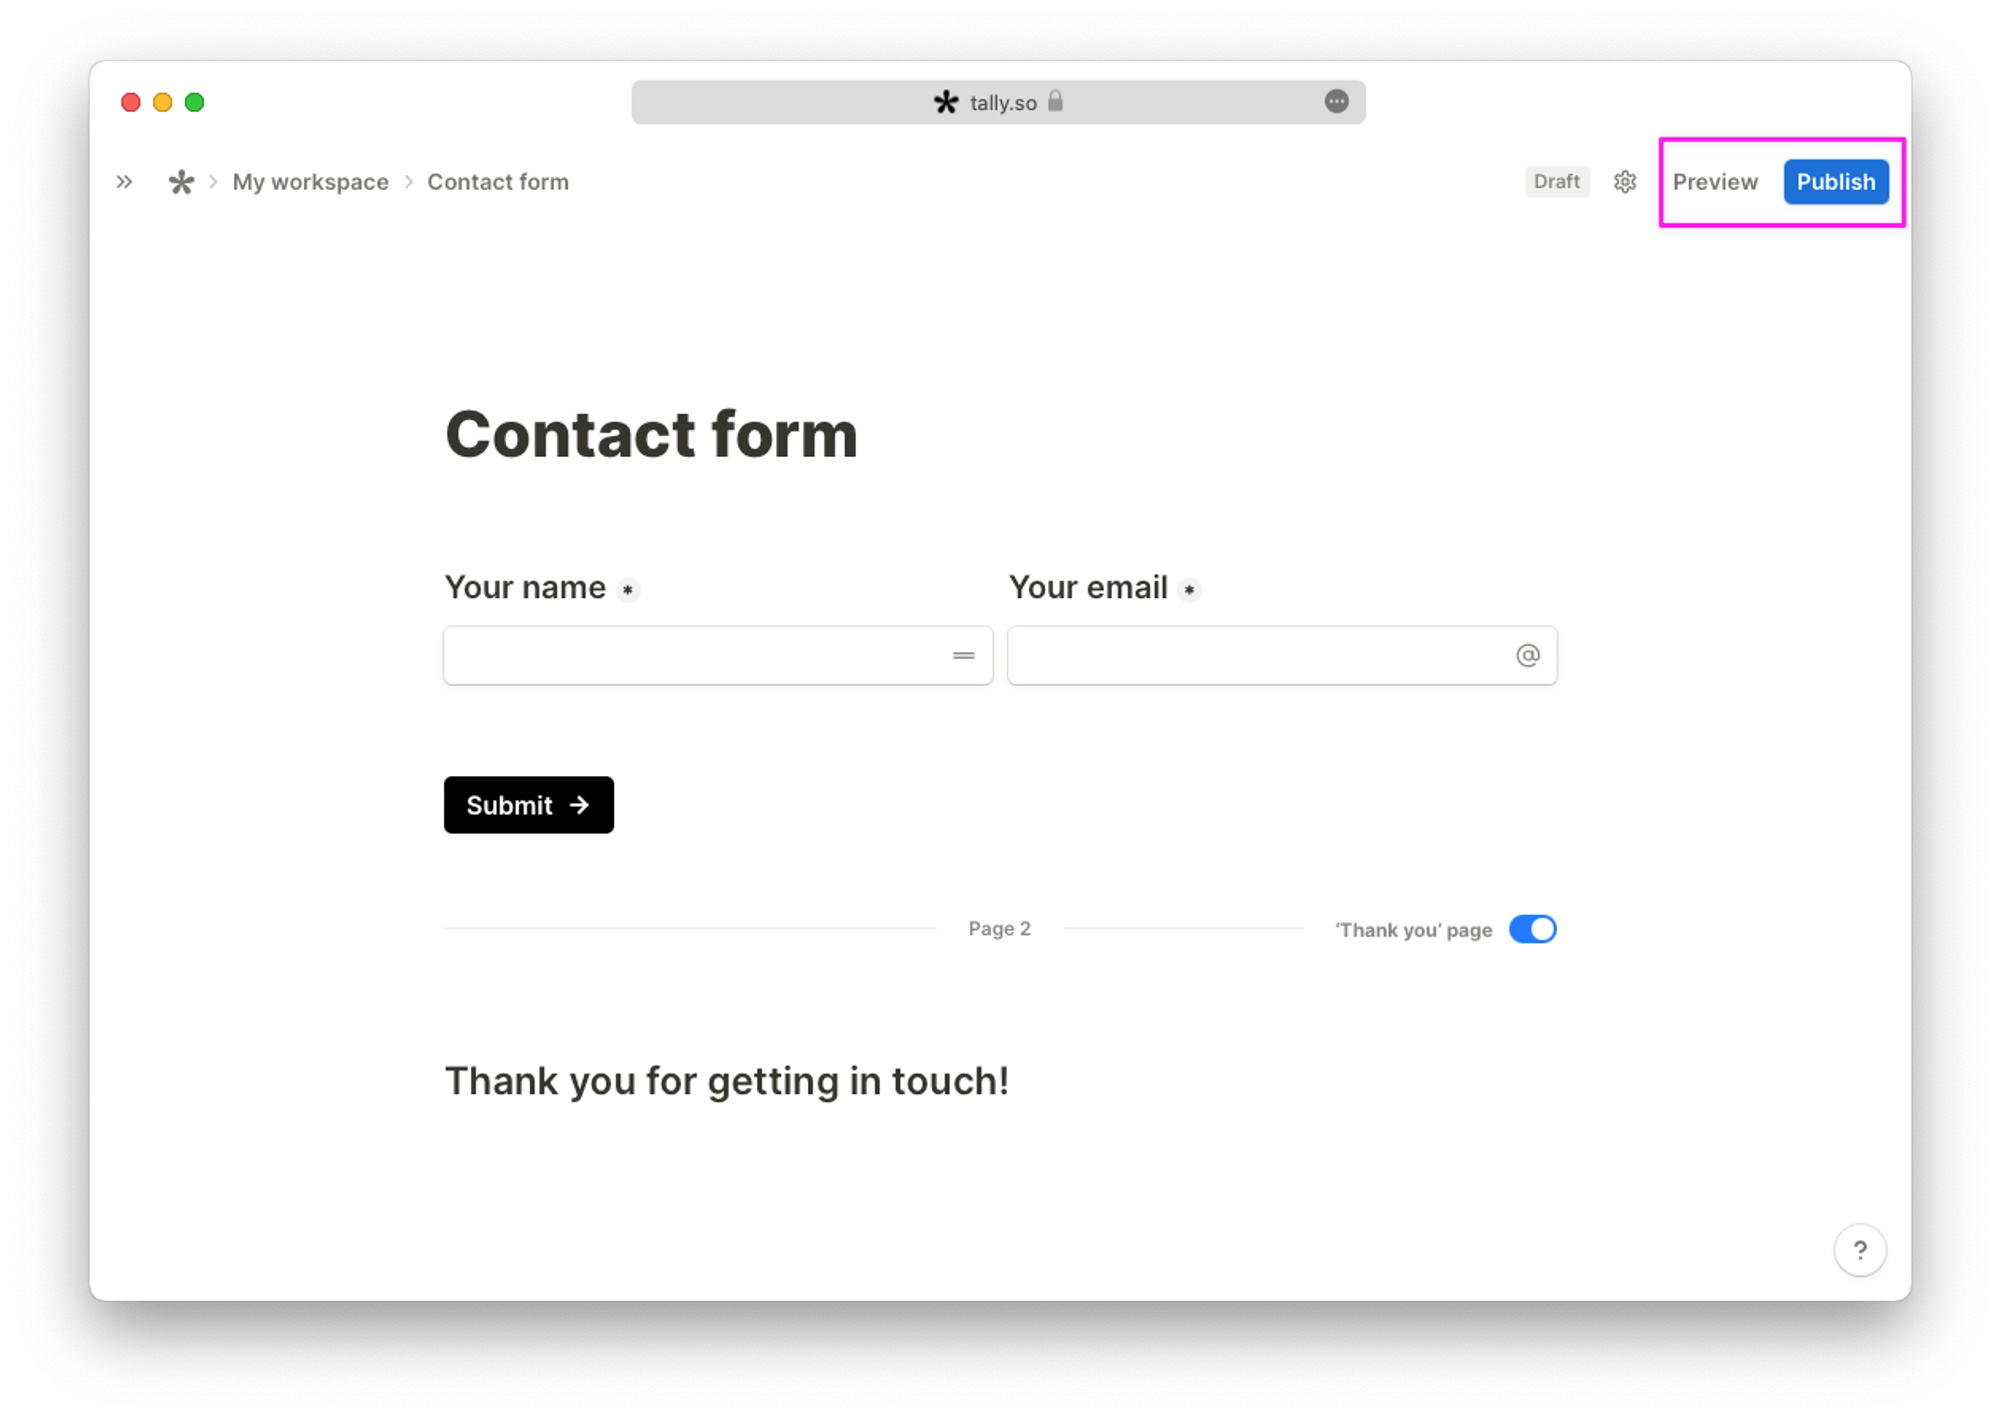
Keep your progress with auto-save
After publishing your first form, you can edit it at any time. Tally automatically saves your changes as you edit — so you won't lose progress if you refresh your browser or close the tab. The next time you open your form in the editor, it will load with your most recent edits.
However, your changes still need to be manually published before they go live. You'll see a blue notification dot next to the
Publish button whenever there are unpublished changes in your form. 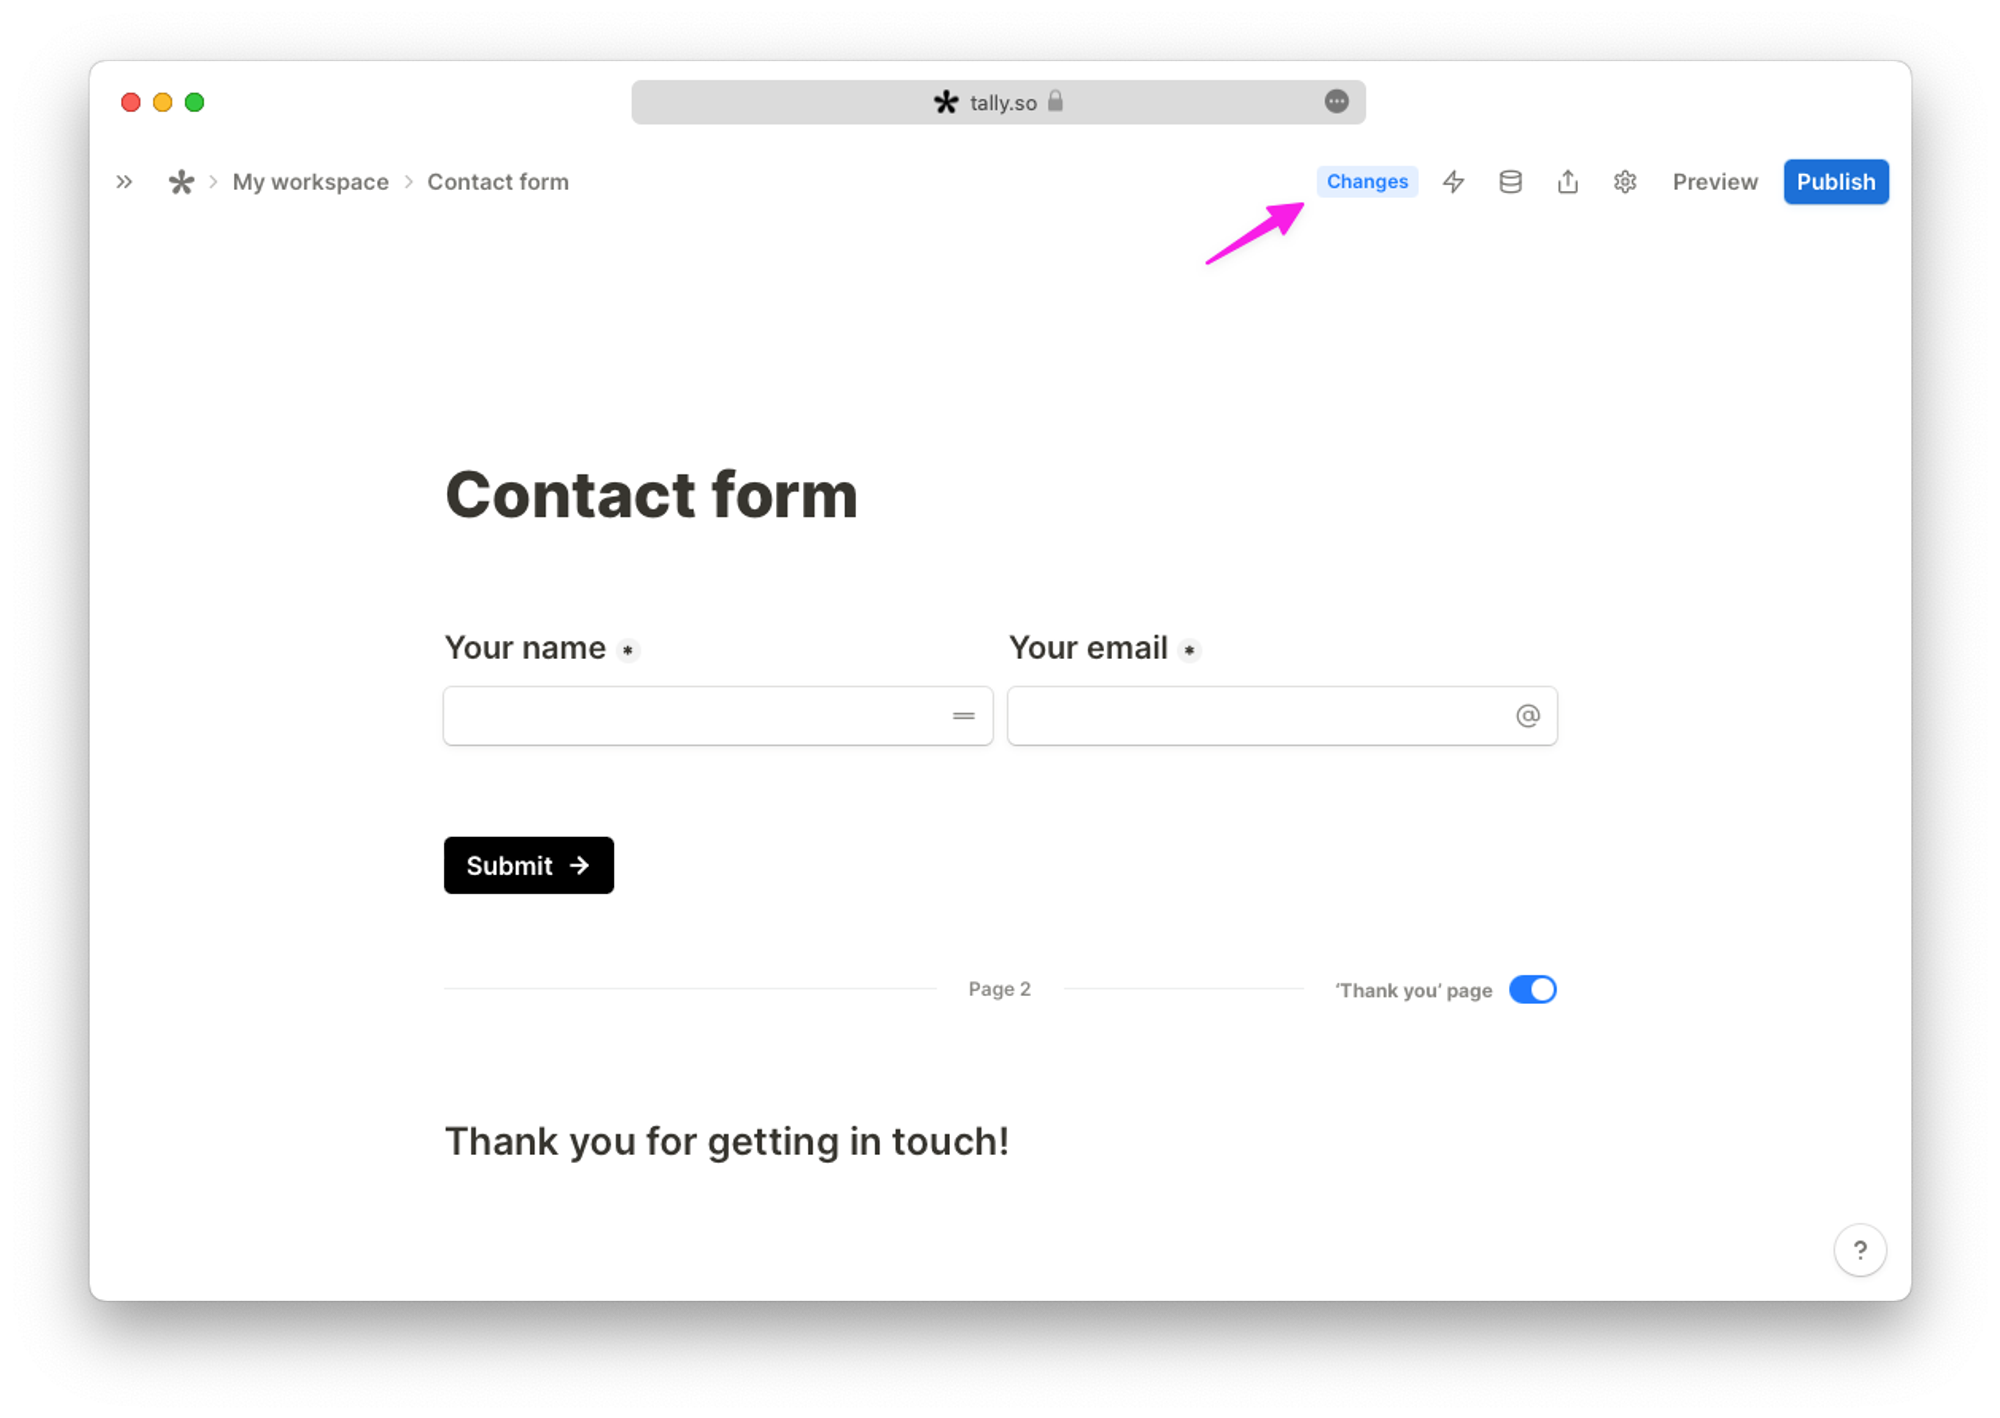
Discard unpublished changes
To discard unpublished changes and revert your form back to the published version, click the
Changes button.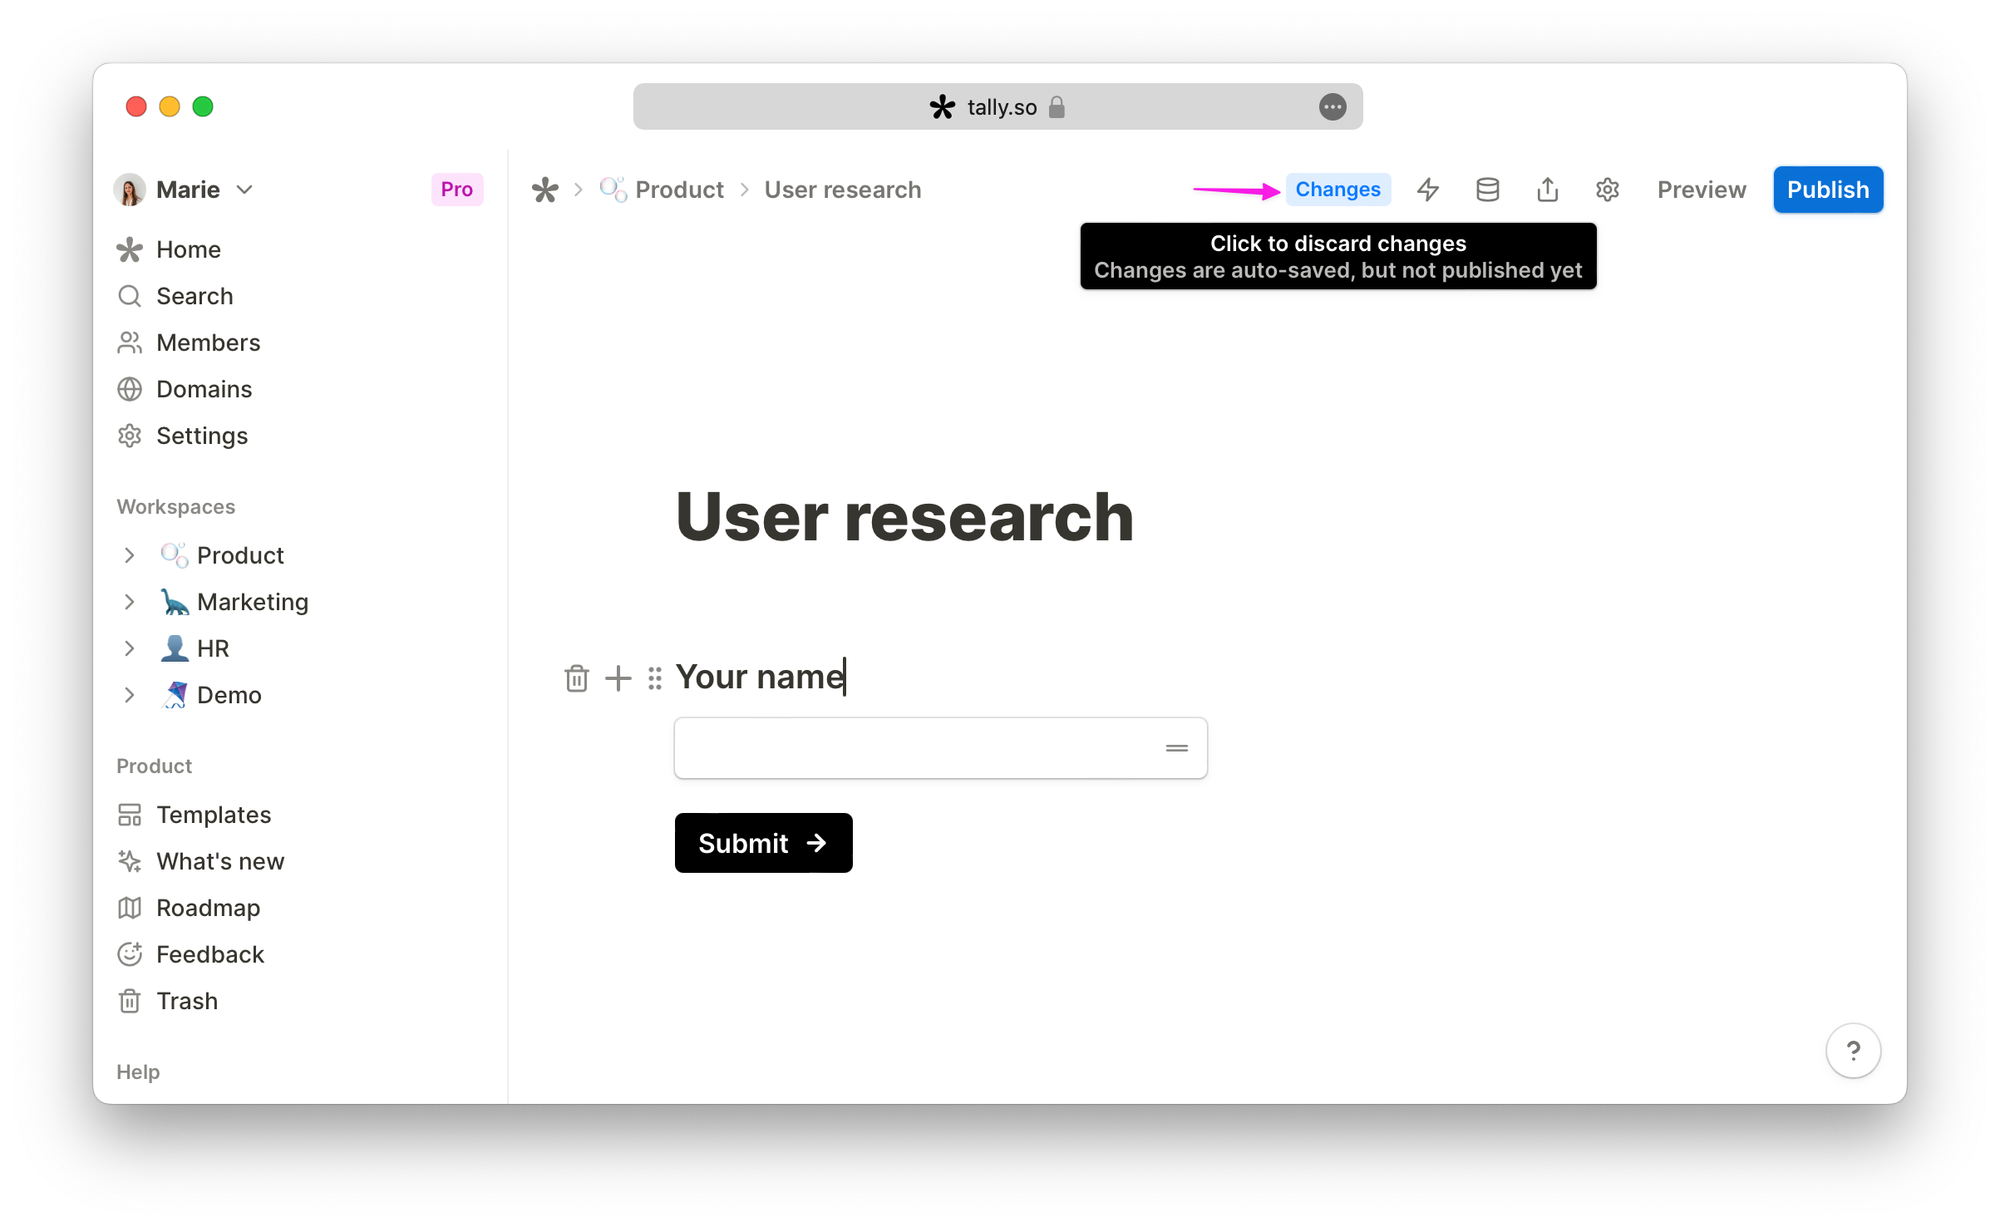
Use the command menu to search
Press
cmd/ctrl + K to toggle command menu. Use it in your Tally dashboard to find or create forms and workspaces. In the form builder, the command menu lets you quickly add new pages, go to preview mode, insert blocks, change form design, and more.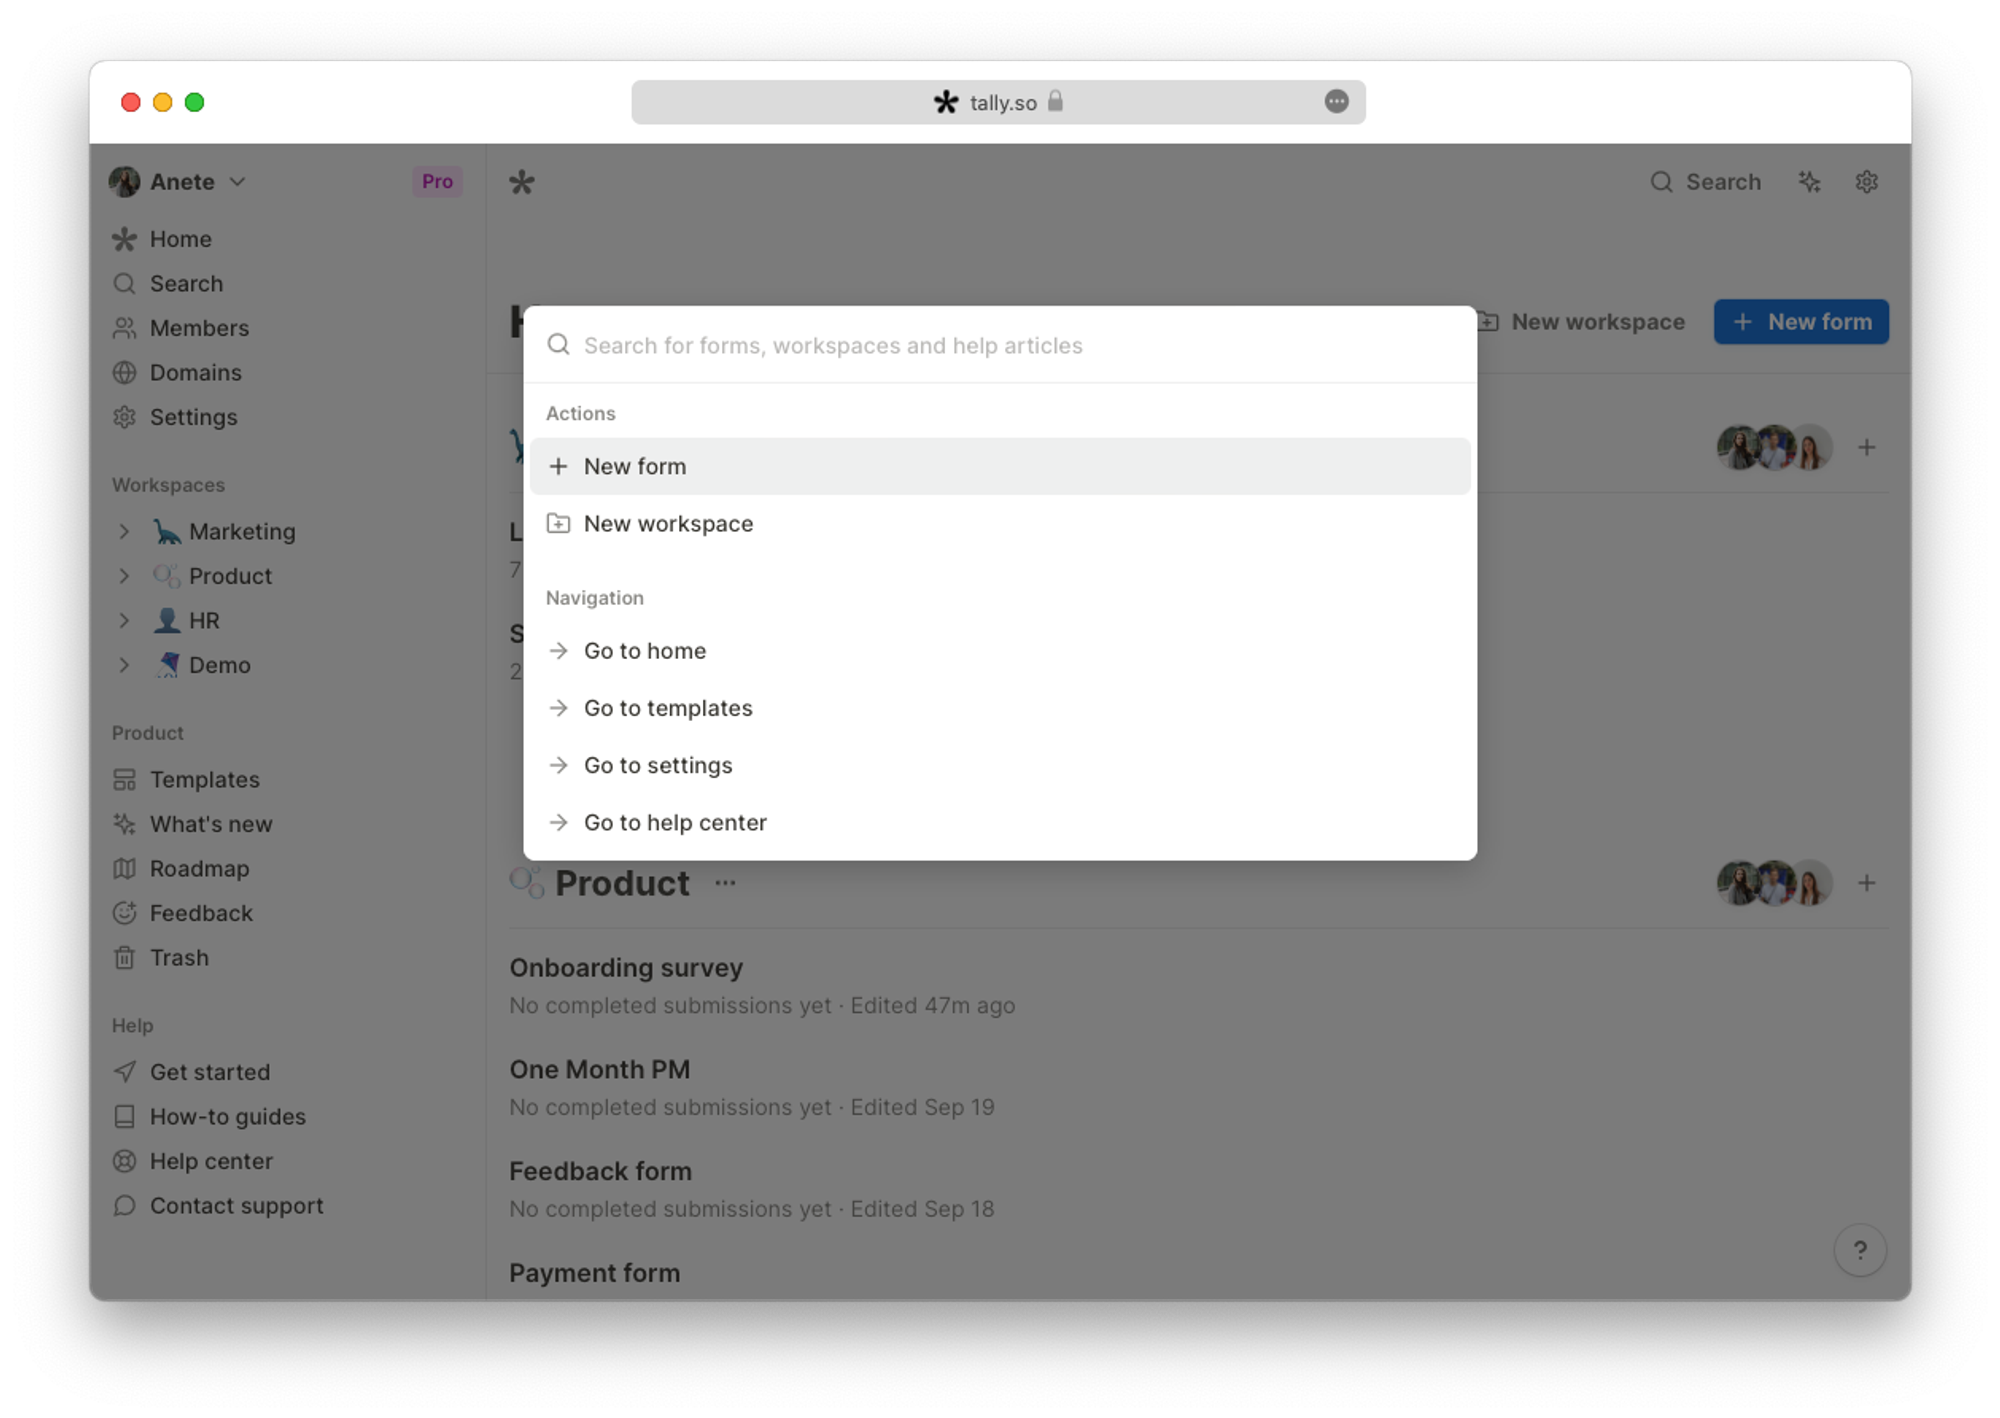
Restore deleted forms, workspaces, and submissions
If you ever delete a form, a workspace, or a form submission, you can always restore it — as long as it's been less than 90 days since you've deleted it.
Head to your Tally dashboard and click the
🗑️ icon (in the Product section) to see all your recently deleted items. Click on the arrow to restore any of your deleted content.